In today’s fast-paced digital world, video production is a crucial component of a successful business strategy. From creating compelling brand stories to showcasing products and services, the right video can make a lasting impact on your audience. For decision-makers in businesses and organizations, understanding the various types of video productions available can help in making informed choices that drive results. This guide will walk you through different types of business video productions, highlighting their unique benefits and when they should be utilized.
1. Corporate Brand Videos
Corporate brand videos are designed to encapsulate the essence of your business—its mission, values, and unique selling points. These videos serve as a cornerstone of your branding strategy, often being the first point of contact for potential clients, partners, or employees. A well-executed brand video can:
Establish and reinforce your brand identity.
Communicate your company’s culture and values.
Build credibility and trust with your audience.
When to use: Ideal for your company’s website homepage, social media channels, and as part of presentations or meetings.
2. Product Demonstration Videos
Product demonstration videos are focused on highlighting the features, benefits, and usability of a specific product or service. These videos are highly effective in educating potential customers and driving conversions, as they provide a clear and engaging explanation of what your product does and how it can solve their problems.
When to use: Perfect for product launches, e-commerce websites, and marketing emails.
3. Customer Testimonial Videos
Customer testimonial videos are one of the most powerful tools for building trust. Featuring real clients who share their positive experiences, these videos add authenticity to your marketing efforts, providing potential customers with the social proof they need to make a decision.
When to use: Ideal for case studies, landing pages, and social media platforms.
4. Training and Educational Videos
Training and educational videos are vital for both internal and external communication. These videos can be used to onboard new employees, educate customers on product usage, or provide ongoing training to staff. The visual format helps ensure consistency in messaging and makes complex information more accessible.
When to use: Useful for HR departments, customer service teams, and as part of online education initiatives.
5. Event Coverage and Highlight Videos
Event coverage and highlight videos capture the excitement and key moments of your corporate events. Whether it’s a conference, trade show, or company retreat, these videos help extend the reach of your event and can be used for future promotion, internal communication, or as part of your brand’s storytelling.
When to use: Best suited for post-event marketing, internal communications, and promotional materials.
6. Explainer Videos
Explainer videos are crafted to simplify complex concepts and convey them in a clear and engaging manner. These videos are particularly effective for explaining how a product or service works, highlighting its benefits, and addressing common customer queries.
When to use: Great for websites, social media channels, and email marketing campaigns.
7. Social Media Videos
Social media videos are designed to be short, engaging, and highly shareable. With the rapid growth of platforms like Instagram, LinkedIn, and TikTok, businesses need to create content that quickly resonates with their audience. These videos can range from quick tips and product teasers to behind-the-scenes glimpses of your company.
When to use: Essential for maintaining ongoing engagement with your audience on social platforms.
8. Recruitment Videos
Recruitment videos are a powerful way to attract top talent by showcasing your company culture, work environment, and the benefits of joining your team. These videos give potential candidates an inside look at what it’s like to work at your company, helping you stand out in a competitive job market.
When to use: Ideal for careers pages, job postings, and LinkedIn recruitment efforts.
9. Animated Videos
Animated videos are a versatile and creative way to visualize complex topics. Whether you’re explaining a technical product or conveying a high-level concept, animation allows for greater flexibility and can make your message more memorable and engaging.
When to use: Suitable for explainer videos, branding campaigns, and product overviews.
Why Choose St Louis Video Editing for Your Next Production?
At St Louis Video Editing, we understand that the quality and impact of your video content are crucial to your business’s success. As a full-service professional video production company, we specialize in bringing your vision to life through expert editing, post-production, and creative storytelling.
Our team of experienced videographers, producers, and editors work collaboratively to ensure every detail of your project is handled with precision and creativity. We offer a comprehensive range of services, from studio and location video shoots to advanced editing and post-production techniques that polish your content to perfection.
With decades of experience, we’re equipped with the latest technology and software, enabling us to handle all file types and media styles. Whether you need a small-scale production or a complex multi-camera setup, our private studio provides the ideal environment to create stunning visuals that align with your brand’s identity.
We also offer specialized services, including indoor drone footage, custom interview setups, and repurposing existing content to maximize your investment. Since 1982, St Louis Video Editing has partnered with businesses, marketing firms, and agencies throughout the St. Louis area, delivering top-notch video productions that drive results.
Let us help you make your next video production not just good, but exceptional. Contact us today to learn how St Louis Video Editing can elevate your brand’s visual storytelling.
Creating compelling and effective video content requires a blend of technical expertise, creativity, and strategic planning. Among the essential elements of professional video production are interviews and B-roll footage. These components work together to tell a cohesive and engaging story. In this guide, we will demystify the process of interview and B-roll production, providing you with valuable insights to make informed decisions for your business or organization.
While spontaneous answers can be valuable, having a structured set of questions ensures that all necessary topics are covered.
Understanding Interviews in Video Production
The Role of Interviews
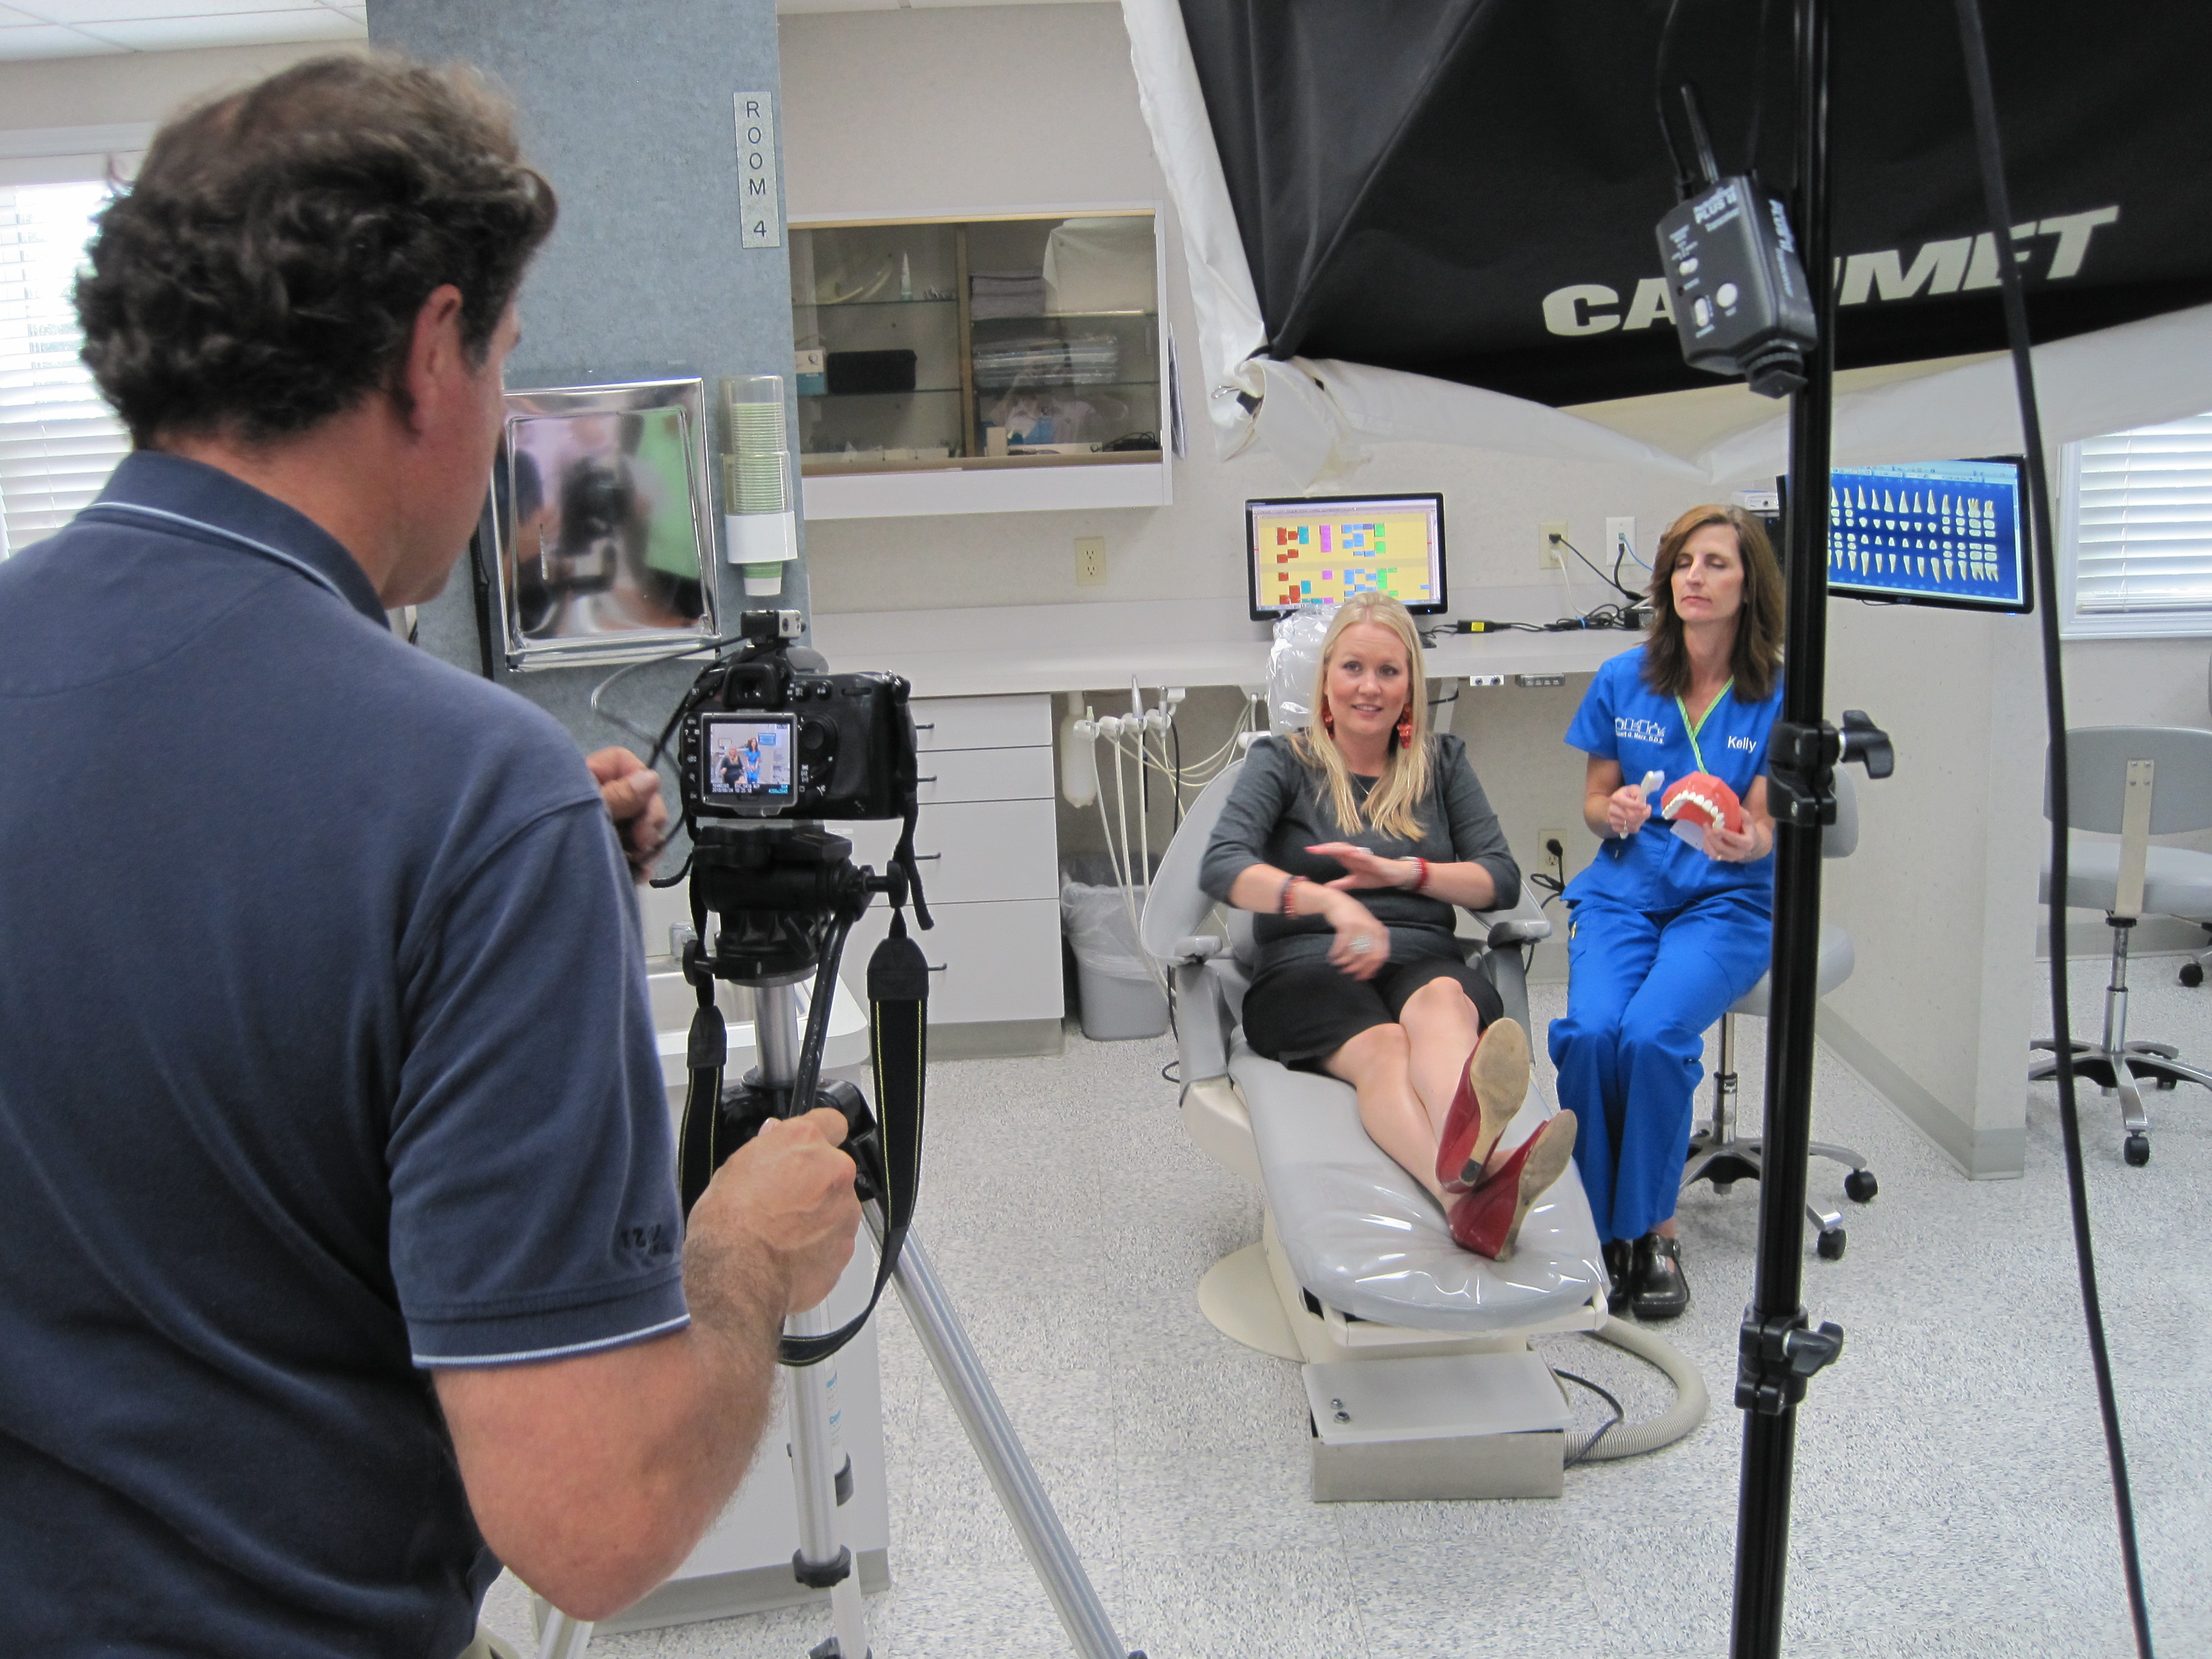
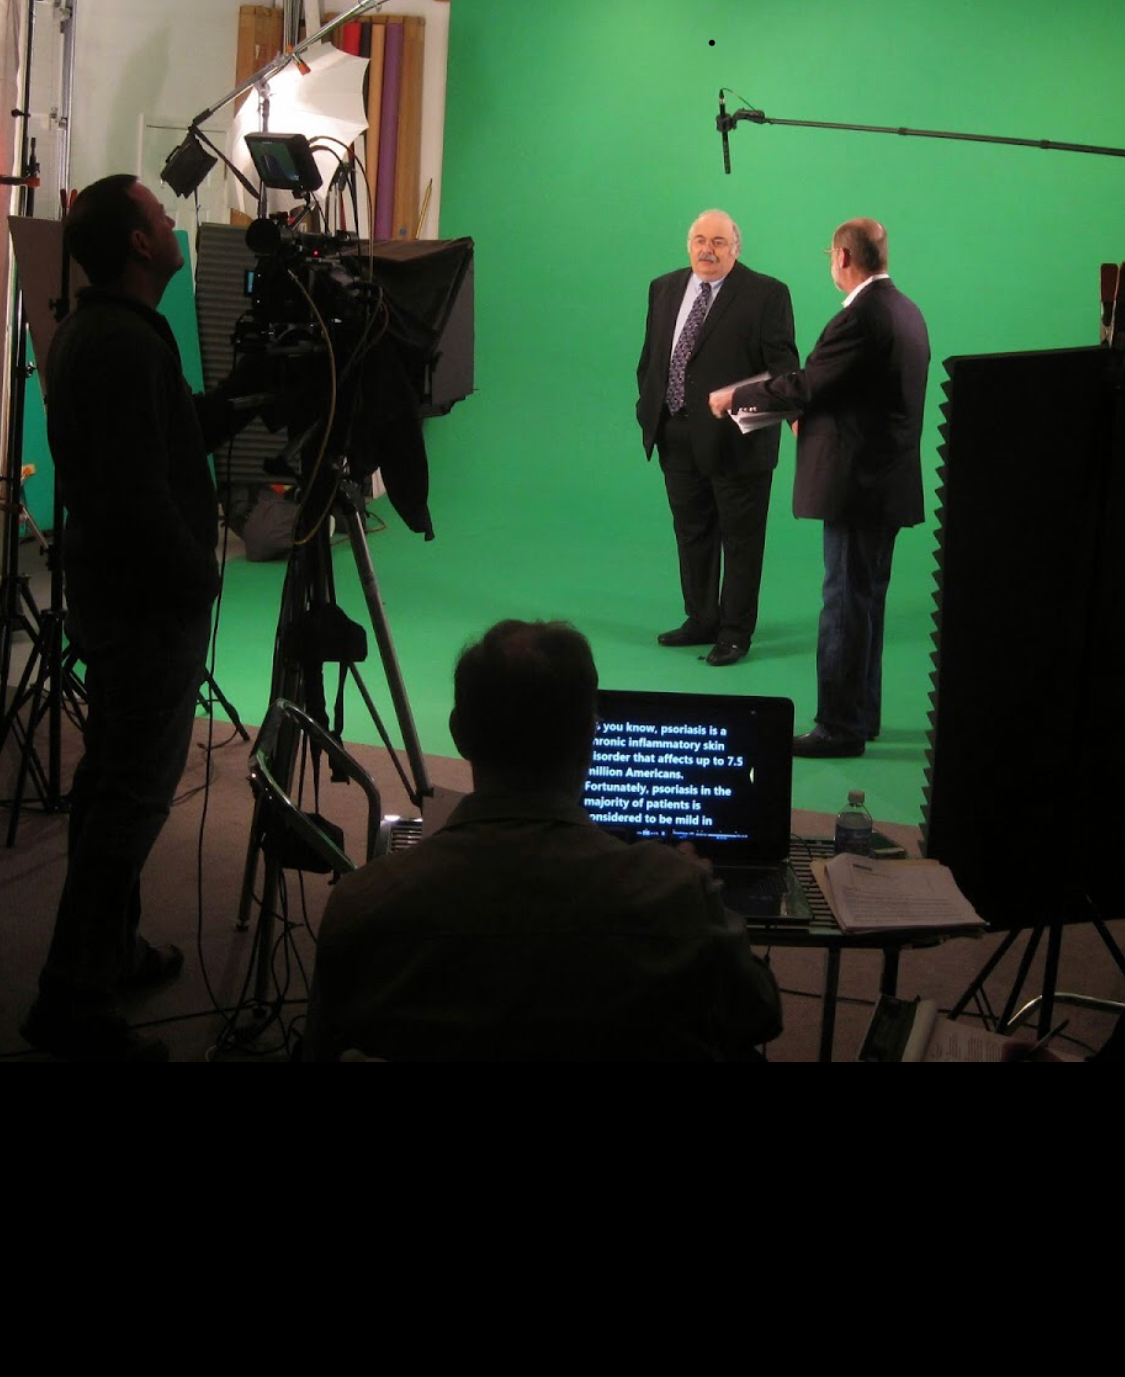
Interviews are a cornerstone of many video projects, particularly in corporate, documentary, and promotional content. They provide a human element, adding authenticity and personal touch to your message. The success of an interview depends on several factors, including the setup, the interviewee’s comfort, and the overall production environment.
Key Elements of a Successful Interview Setup
Location: Choosing the right location is crucial. Whether it’s an office, a studio, or an outdoor setting, the environment should align with the message of the interview.
Lighting: Proper lighting enhances the visual quality and sets the mood. Soft, diffused lighting is often ideal for interviews as it reduces harsh shadows and creates a flattering image.
Sound: Clear audio is non-negotiable. Using high-quality microphones and soundproofing techniques ensures that the interviewee’s voice is crisp and free from background noise.
Camera Setup: Multiple camera angles can add depth and variety to the footage. A standard setup might include a primary camera for the main shot and a secondary camera for side angles or close-ups.
Tips for Conducting Interviews
Prepare Questions in Advance: While spontaneous answers can be valuable, having a structured set of questions ensures that all necessary topics are covered.
Build Rapport: Spend time with the interviewee before filming to make them comfortable. A relaxed subject is more likely to provide genuine and engaging responses.
Stay Flexible: Be ready to adapt your questions based on the interviewee’s responses. Sometimes the best insights come from unexpected directions.
The Importance of B-Roll Footage
What is B-Roll?
B-roll is supplemental footage that enhances the primary video content. It includes shots that provide context, illustrate points, and break the monotony of the talking head shots. Effective B-roll can transform a good video into a great one by adding visual interest and depth.
Types of B-Roll
Contextual Shots: These provide background information, showing the environment or setting related to the interview.
Action Shots: Footage of people performing relevant activities adds dynamism and context.
Close-ups and Details: These shots focus on specific objects or actions, providing visual variety and highlighting key elements.
Best Practices for Shooting B-Roll
Plan Ahead: Identify potential B-roll opportunities during the pre-production phase. This ensures you capture all necessary footage.
Keep It Relevant: Make sure the B-roll footage directly relates to the interview content. Irrelevant shots can distract from the main message.
Variety is Key: Shoot a mix of wide, medium, and close-up shots to provide a range of options during editing.
Integrating Interviews and B-Roll
The magic of video production lies in the seamless integration of interviews and B-roll. During the editing process, B-roll is used to cover cuts, illustrate points made by the interviewee, and add visual interest. This blend keeps the audience engaged and helps convey a more comprehensive story.
Why Choose St Louis Video Editing
At St Louis Video Editing, we pride ourselves on being a full-service professional commercial photography and video production company. Our extensive experience and dedication to quality ensure that your video production needs are met with the highest standards.
Our Services Include:
Full-Service Studio and Location Video and Photography: We offer both studio and on-location shoots, tailored to your specific requirements.
Editing and Post-Production: Our skilled editors refine your footage to create a polished final product.
Licensed Drone Pilots: We provide aerial footage with our specialized drones, capable of both indoor and outdoor flights.
Custom Productions: We tailor our services to meet diverse media requirements, from branding videos to corporate communications.
Private Studio Setups: Our studio is equipped for small productions and interviews, with comprehensive lighting and visual setups.
Our Expertise
St Louis Video Editing has a proven track record of working with businesses, marketing firms, and agencies across the St. Louis area. Our team is well-versed in all file types, media styles, and accompanying software, ensuring your content is versatile and repurposable for various platforms.
Whether you need a custom interview studio setup, professional sound and camera operators, or specialized equipment, we have everything necessary to make your next video production perfect. Our commitment to excellence and creativity makes us the ideal partner for your corporate photography and video needs.
Transform your vision into reality with St Louis Video Editing. Contact us today to discuss your next project and experience the difference of working with true professionals.
By leveraging the expertise and resources at St Louis Video Editing, you can ensure that your video productions not only meet but exceed your expectations. From interviews to B-roll and beyond, we are here to make your stories come to life.
Whether you are a small startup or a well-established corporation, creating standout product videos can greatly impact your brand’s success. As experienced business videographers at St. Louis Video Editing, we understand the nuances of producing high-quality product videos that grab your audience’s attention and leave a lasting impression. In this comprehensive guide, we will share valuable insights and production tips to help you create compelling product videos that shine.
Ensure the script is concise, engaging, and aligns with your brand’s tone and voice.
Understanding the Importance of Product Videos
Before diving into the production process, it’s crucial to recognize the significance of product videos in your marketing strategy. Product videos offer several advantages, such as:
Increased Engagement: Studies have shown that videos can significantly boost engagement rates compared to static images or text content. People are more likely to watch a video to learn about a product rather than reading lengthy descriptions.
Enhanced Understanding: Product videos allow you to demonstrate how your product works, its features, and benefits. This helps potential customers understand your offering better.
Improved Conversion Rates: Well-produced product videos can lead to higher conversion rates. When customers see your product in action and witness its value, they are more likely to make a purchase.
Better SEO: Search engines favor websites with video content, making it easier for your target audience to find your products online.
Now that you understand the importance of product videos, let’s delve into the essential production tips to ensure your videos stand out.
Pre-production Planning
Define Your Goals: Start by clearly defining the objectives of your product video. Are you aiming to educate, entertain, or inspire your audience? Understanding your goals will shape the video’s content and style.
Know Your Audience: Identify your target audience and tailor your video to resonate with their interests, preferences, and pain points. Speak directly to their needs to establish a deeper connection.
Storyboarding: Create a storyboard or shot list outlining the scenes, shots, and sequences you want to include in your video. This helps you visualize the final product and ensures you capture all essential elements.
Scriptwriting: Write a compelling script that conveys your message effectively. Ensure the script is concise, engaging, and aligns with your brand’s tone and voice.
Location and Props: Choose appropriate locations and props that complement your product. Ensure good lighting and minimal distractions to maintain visual focus.
Filming Techniques
Camera and Equipment: Invest in high-quality cameras and equipment to capture professional-looking footage. Use tripods or stabilizers to eliminate shaky shots.
Lighting: Proper lighting is critical for achieving a polished look. Utilize natural light or invest in lighting kits to control the ambiance and highlight your product’s features.
Composition: Pay attention to framing and composition. Use the rule of thirds, leading lines, and balanced shots to create visually appealing scenes.
Angles and Perspectives: Experiment with different camera angles and perspectives to showcase your product from various angles. Close-ups, wide shots, and overhead shots can add depth and dimension to your video.
Motion and Movement: Incorporate dynamic camera movements, such as panning, tracking, or zooming, to add visual interest and highlight key product features.
Audio and Voiceovers
High-Quality Audio: Invest in a good microphone to capture clear audio. Eliminate background noise and ensure that the voiceover or narration is crisp and easy to understand.
Music and Sound Effects: Select appropriate background music and sound effects that enhance the mood and reinforce your brand’s identity. Ensure that the audio complements the visuals.
Post-production Magic
Editing: Use professional video editing software to piece together your footage. Pay attention to pacing, transitions, and visual effects to create a seamless and engaging video.
Color Correction: Enhance the overall look of your video by color correcting and grading your footage. Consistent color tones can create a cohesive and polished appearance.
Text and Graphics: Add text overlays, titles, and graphics to provide additional information about your product. Ensure that these elements are visually appealing and easy to read.
Call to Action (CTA): Include a clear and compelling CTA at the end of your video, prompting viewers to take the desired action, such as visiting your website, subscribing, or making a purchase.
Optimizing for Different Platforms
Mobile-Friendly: Optimize your product videos for mobile viewing, as a significant portion of users access content on smartphones and tablets. Ensure that your videos load quickly and display correctly on smaller screens.
Social Media Integration: Tailor your videos for various social media platforms. Create shorter teaser videos or snippets for platforms like Instagram, TikTok, and Twitter, and ensure they are shareable.
SEO Optimization: Incorporate relevant keywords and descriptions in your video’s metadata to improve its discoverability on search engines and video-sharing platforms like YouTube.
Measuring Success and Iterating
Analytics: Monitor the performance of your product videos using analytics tools. Track metrics such as views, engagement, conversion rates, and audience demographics to assess the video’s impact.
A/B Testing: Experiment with different video variations to determine what resonates best with your audience. Test different elements like the script, visuals, and CTA to optimize your videos further.
Feedback and Improvement: Gather feedback from your audience and stakeholders to identify areas for improvement. Continuously refine your video production process to create even more effective product videos in the future.
St. Louis Video Editing: Your Trusted Partner in Video Production
As a full-service professional commercial video production company, St. Louis Video Editing has the experience, equipment, and creative crew to bring your product videos to life. Our comprehensive services include both studio and location creative video production, as well as editing and post-production expertise. We excel at customizing productions to meet diverse media requirements, helping you repurpose your branding for maximum traction.
Our team at St. Louis Video Editing is well-versed in all file types and media styles, utilizing cutting-edge software to ensure the highest quality output. With a proven track record of working with businesses and agencies in the St. Louis area, we have a deep understanding of the local market and its unique demands for corporate photography and video.
Don’t miss the opportunity to elevate your brand with standout product videos. Contact St. Louis Video Editing today and let us take your video production to the next level. Whether you need captivating product demonstrations, engaging promotional videos, or informative tutorials, we have the expertise to deliver outstanding results.
Let us be your partner in creating compelling product videos that captivate your audience and drive success. Contact St. Louis Video Editing now and experience the difference of working with a professional video production company.
While live streaming provides immediacy and interactivity, it often comes with its fair share of imperfections – from technical glitches to unscripted moments. This is where the expertise of a seasoned video editor at St. Louis Video Editing can make all the difference. In this comprehensive guide, we will delve into advanced techniques for enhancing live video streams through the art of editing, turning raw live footage into polished, professional content.
Trim unnecessary segments, rearrange content for a more coherent narrative, and add visual elements to support your message.
The Importance of Editing in Live Video
Live video streaming offers a unique opportunity for direct engagement with your audience, but it also presents challenges. Viewers may tolerate minor hiccups in a live broadcast, but they expect a higher level of production quality when watching recorded content. This is where post-production editing comes into play. By refining your live stream through skilled editing, you can:
Enhance Visual Appeal: Clean up visual imperfections, adjust colors, and correct exposure issues to create a visually stunning video.
Enhance Storytelling: Trim unnecessary segments, rearrange content for a more coherent narrative, and add visual elements to support your message.
Add Professionalism: Incorporate graphics, text overlays, and animations to elevate the overall production value.
Engage Your Audience: Captivate viewers with attention-grabbing transitions, effects, and call-to-action prompts.
Now, let’s dive into the advanced techniques that can transform your live video streams into compelling, professional content.
1. Color Correction and Grading
One of the first steps in the editing process is color correction and grading. This involves adjusting the color balance, contrast, and saturation to achieve a consistent and visually pleasing look. Color correction corrects any issues with the initial footage, while color grading sets the mood and tone of the video.
Pro Tip: Use color grading to establish a visual theme for your brand or content, creating a recognizable style that resonates with your audience.
2. Audio Enhancement
Poor audio quality can quickly turn viewers away from your content. Effective audio enhancement includes noise reduction, equalization, and compression. It’s crucial to ensure that your voiceovers or dialogue are crystal clear, free from distracting background noises.
Pro Tip: Pay attention to audio levels and ensure that music, voiceovers, and sound effects are balanced for a seamless viewing experience.
3. Seamless Transitions
Smooth transitions between scenes or segments can greatly improve the flow of your video. Advanced editing techniques, such as cross-dissolves, wipes, and custom transitions, can make your video feel more polished and engaging.
Pro Tip: Be mindful of the pacing of your transitions; they should complement the content and not distract from it.
4. Text and Graphics Integration
Incorporating text overlays, titles, lower thirds, and graphics can provide context and reinforce key messages. Skillful integration of these elements can make your video more informative and visually appealing.
Pro Tip: Ensure that text and graphics are legible and consistent with your brand’s style guide.
5. Visual Effects and Motion Graphics
For a more dynamic and engaging video, consider adding visual effects and motion graphics. These can range from subtle animations to eye-catching graphics that enhance storytelling and captivate your audience.
Pro Tip: Use motion graphics strategically to highlight important information or create visual interest.
6. Storyboarding and Storytelling
Editing is not just about making your video look good; it’s also about crafting a compelling narrative. Storyboarding is a valuable technique for planning the structure of your video and ensuring that it effectively conveys your message.
Pro Tip: Use storyboards to visualize the sequence of shots and transitions before you start editing.
7. Optimizing for Various Platforms
Different platforms have varying requirements for video formats, aspect ratios, and lengths. To maximize the reach of your content, it’s essential to optimize your video for each platform you intend to use. This may involve creating multiple versions or repurposing content.
Pro Tip: Stay updated with platform-specific guidelines to ensure your video performs well across all channels.
8. Quality Control and Review
Before finalizing your edited live video, perform thorough quality control and review. Check for any remaining imperfections, audio glitches, or visual inconsistencies. Consider seeking feedback from others to gain different perspectives.
Pro Tip: Take the time to watch your video as if you were an audience member to identify any potential issues.
St. Louis Video Editing: Your Partner in Video Production and Post-Production
At St. Louis Video Editing, we understand the intricacies of video editing and its pivotal role in transforming live video streams into captivating content. With years of experience as a full-service video production and post-production company, we have honed our skills to perfection. Our creative crew possesses the expertise, creativity, and technical know-how to elevate your video productions to new heights.
Our services encompass:
Full-Service Studio and Location Video Recording: Whether you require a controlled studio environment or on-location filming, we have the equipment and expertise to deliver exceptional results.
Editing: Our video editors employ advanced techniques to craft polished, professional videos that convey your message effectively.
Photography: In addition to video production, we offer photography services to capture high-quality images that complement your video content.
Customization: We tailor our video productions to suit a diverse range of creative needs, ensuring that your content aligns with your objectives.
Repurposing: Maximizing the impact of your content is our specialty. We can repurpose your productions to reach a broader audience and enhance their traction.
Our proficiency extends to all file types and media styles, ensuring that your project receives the attention to detail it deserves. When you partner with St. Louis Video Editing, you can expect nothing less than exceptional quality and professionalism.
As a full-service video creation company, St. Louis Video Editing has collaborated with numerous businesses in the St. Louis area, crafting remarkable marketing tools that leave a lasting impression. Our experienced videographers and producers are dedicated to creating impactful studio images that resonate with your audience.
In conclusion, the power of editing in enhancing live video streams cannot be overstated. It’s the bridge that transforms raw, unpolished footage into a professional, engaging, and impactful piece of content. By implementing advanced techniques such as color correction, audio enhancement, seamless transitions, and storytelling, you can captivate your audience and leave a lasting impression.
If you’re ready to take your live video streams to the next level, trust the experts at St. Louis Video Editing. Contact us today and let us help you unleash the full potential of your video content.
Call to Action: As a full-service video creation company, St. Louis Video Editing has worked with many businesses in the St. Louis area to create some rather remarkable marketing tools. We have experienced videographers and producers to create impactful studio images. Contact us today to discuss how we can elevate your video content and make it shine. Your audience deserves nothing but the best, and we’re here to deliver it.
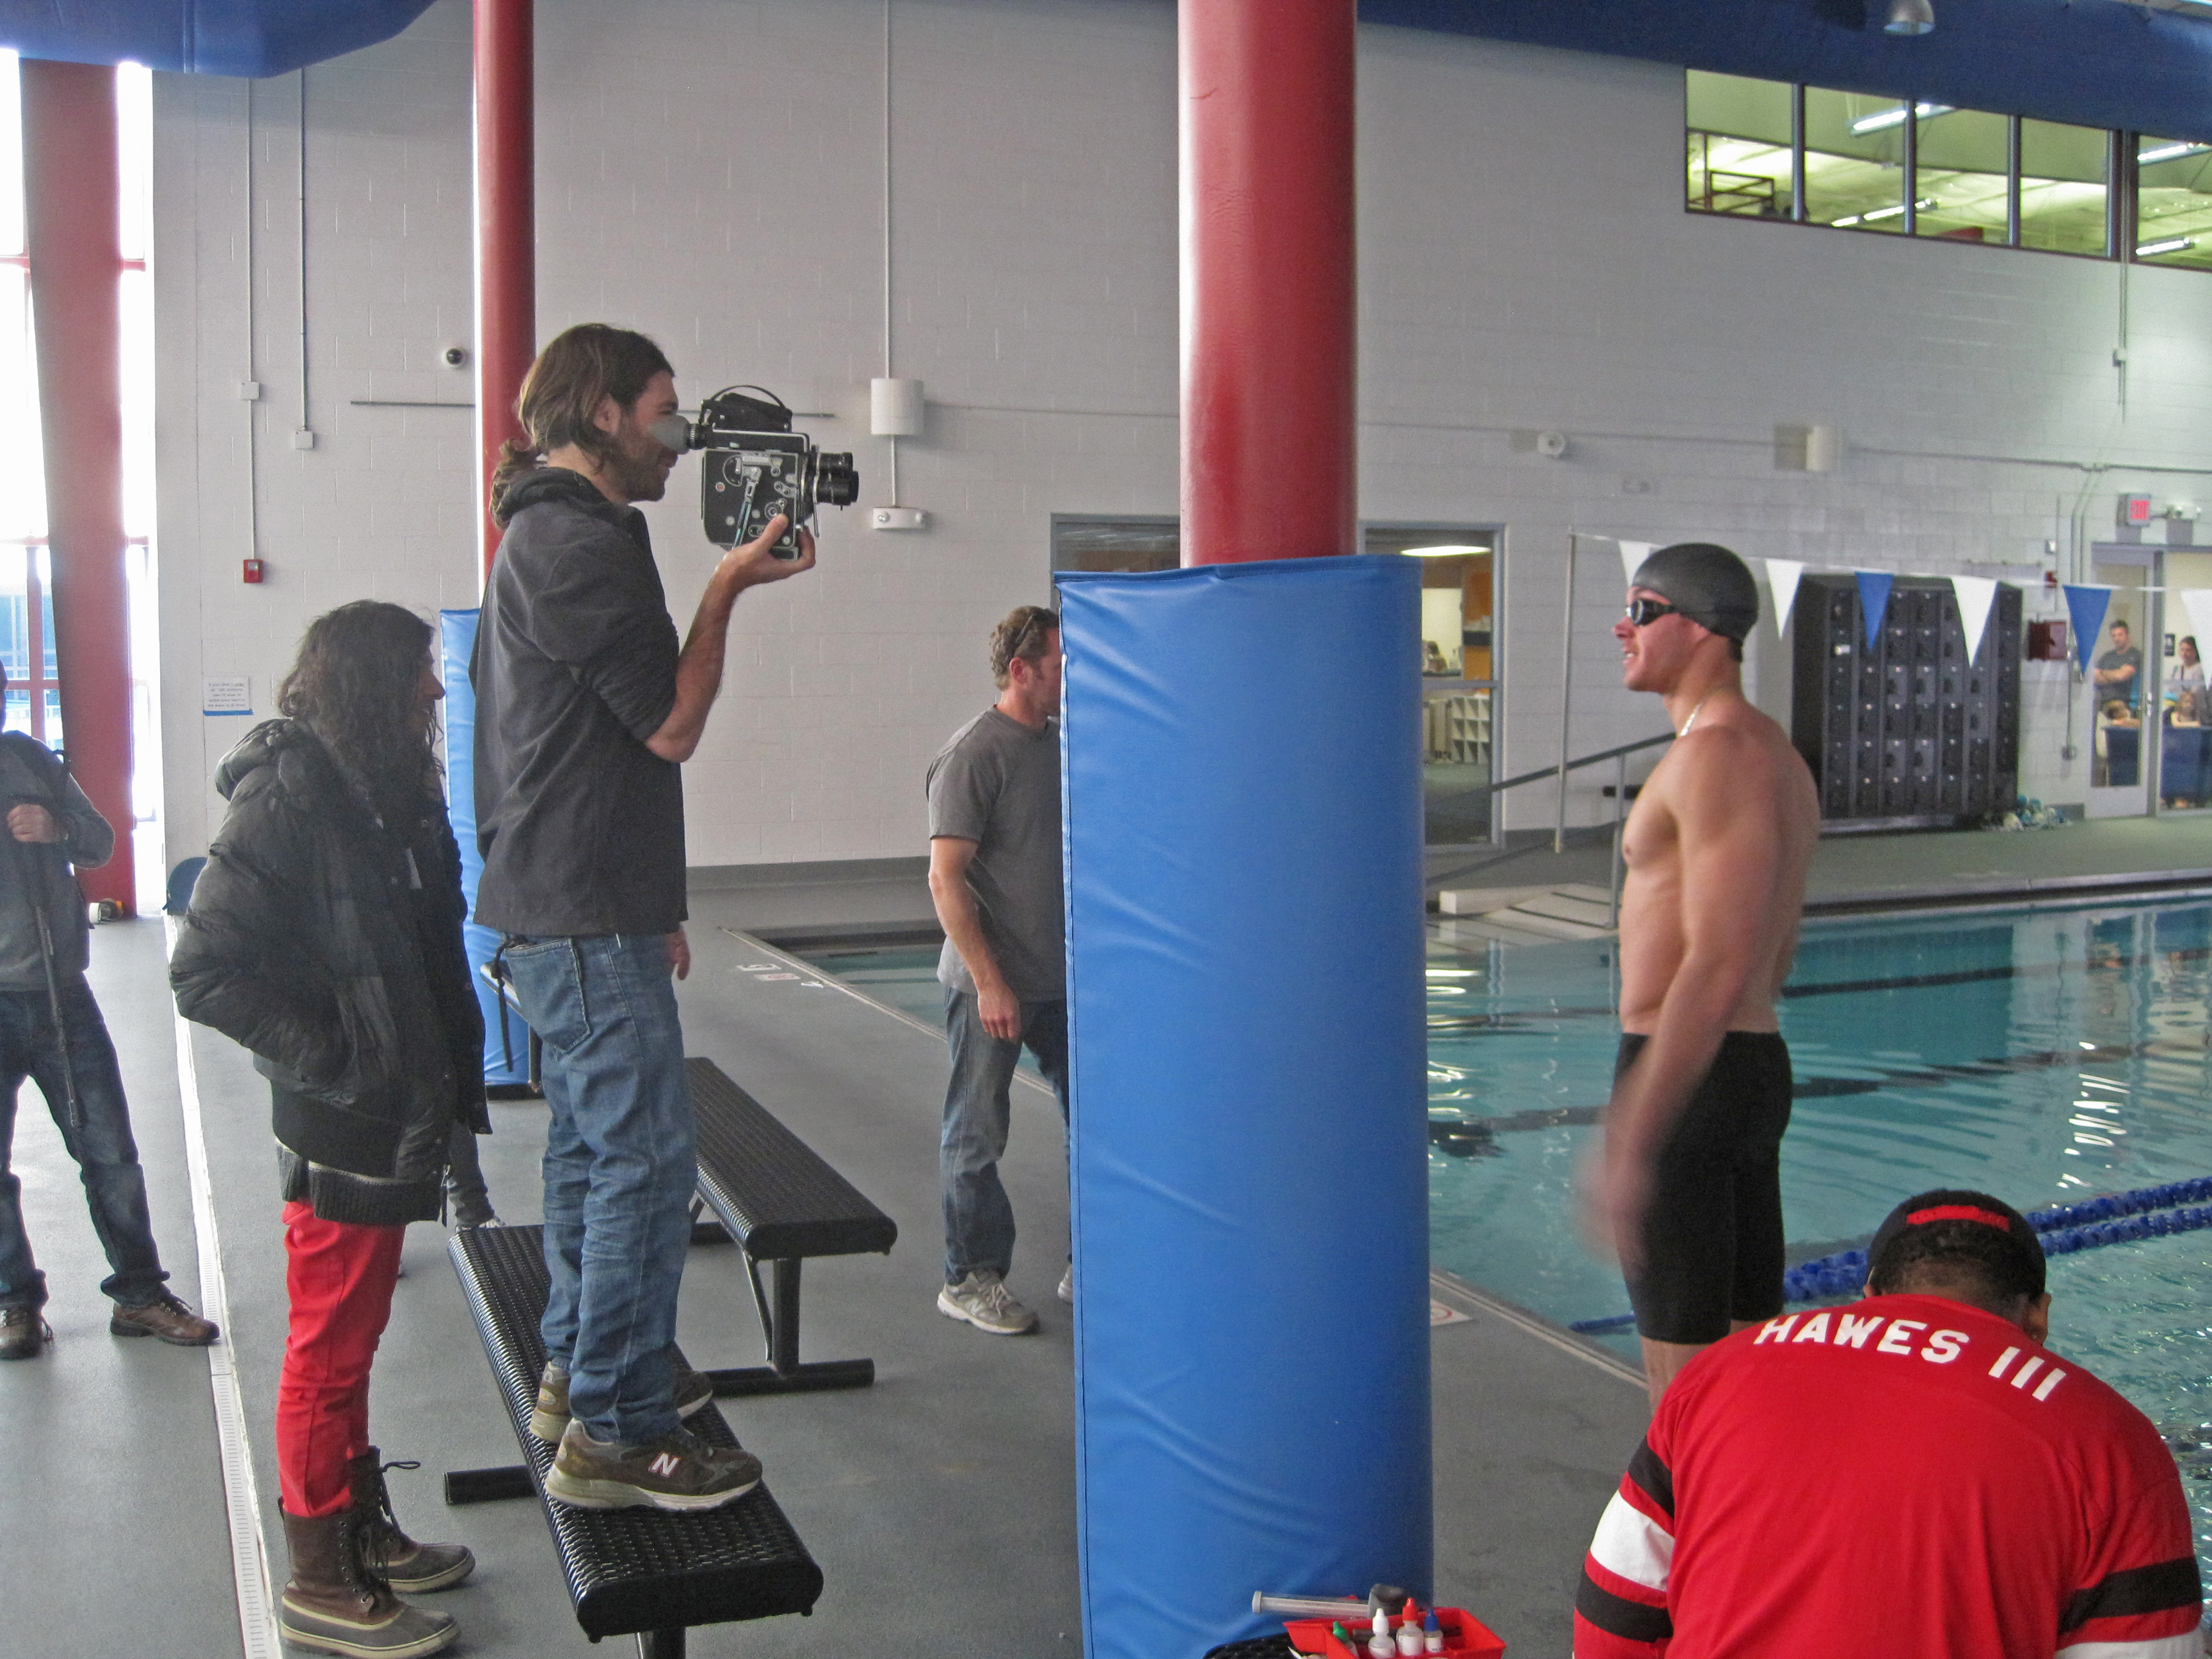
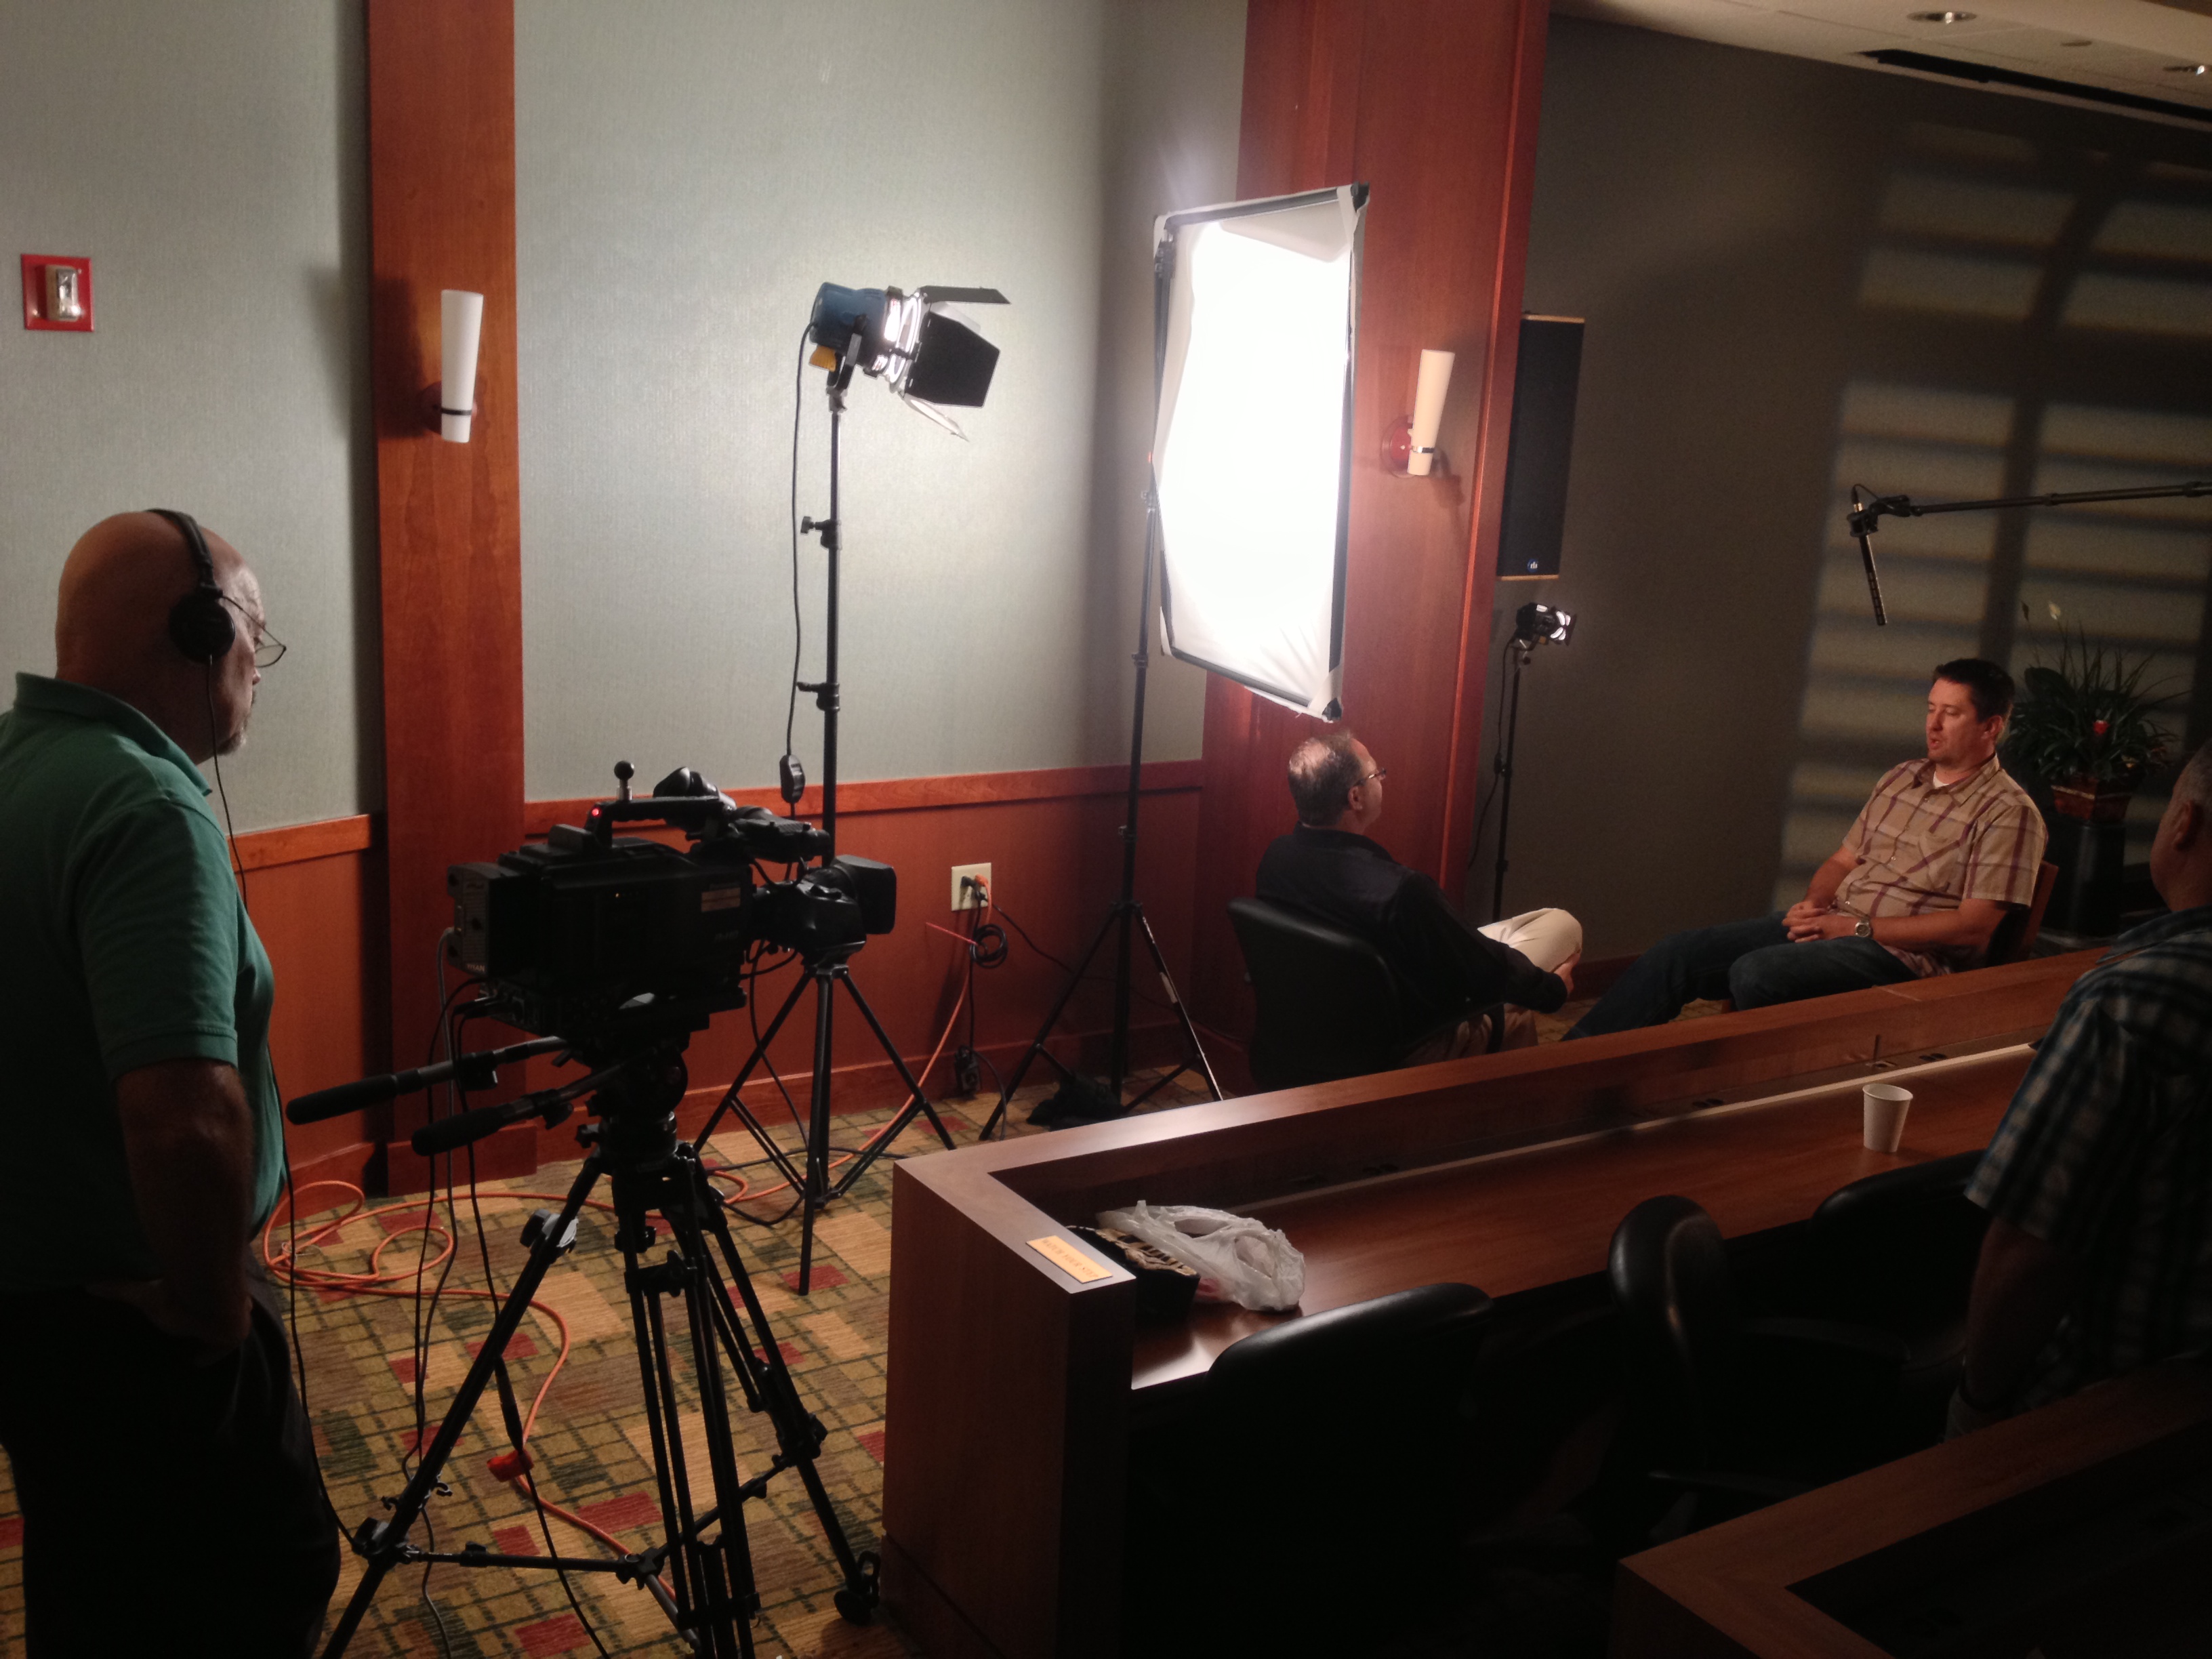
Are you planning to shoot a video on location? Whether you’re working on a corporate video, a documentary, a promotional video, or any other type of project, location shoots can present unique challenges and opportunities. As experienced videographers at St. Louis Video Editing, we understand the intricacies of location video production and are here to guide you through the process. In this comprehensive guide, we’ll share our expertise on planning and executing smooth location video shoots, covering everything from pre-production to post-production.
Before you start shooting, conduct a rehearsal with your talent and crew. This will help everyone understand their roles and ensure a smoother shoot.
Understanding the Importance of Location
The choice of location can significantly impact the overall quality and effectiveness of your video. It sets the stage, conveys your message, and establishes the visual and emotional tone of your content. Here are some key considerations when selecting a location:
Relevance: Ensure that the chosen location aligns with the content and message of your video. It should enhance the storytelling rather than distract from it.
Permits and Permissions: Depending on your location, you may need permits or permissions to shoot there. It’s crucial to research and obtain any necessary approvals in advance to avoid legal issues.
Accessibility: Consider how easy it is for your crew and equipment to access the location. Accessibility can impact the logistics of your shoot.
Lighting: Natural lighting can be a powerful asset for location shoots. Assess the lighting conditions at different times of the day and plan your shoot accordingly.
Pre-Production Planning
A successful location video shoot starts with thorough pre-production planning. Here’s what you need to do before setting foot on location:
1. Define Your Objectives
Clearly outline the goals and objectives of your video. What message are you trying to convey? Who is your target audience? Understanding these factors will help you make informed decisions throughout the production process.
2. Develop a Shot List and Storyboard
Create a detailed shot list and storyboard to visualize your video. This will serve as a roadmap during the shoot and help ensure that you capture all the necessary footage.
3. Scout the Location
Visit the location in advance to assess its suitability for your shoot. Take note of potential challenges, such as noise, distractions, or limited space, and develop strategies to address them.
4. Assemble Your Crew
Choose your team carefully. Depending on the complexity of your project, you may need a director, cinematographer, sound engineer, lighting technician, and production assistants. Effective communication and collaboration among team members are essential for a smooth shoot.
5. Equipment and Gear
Determine the equipment and gear you’ll need for the shoot. This includes cameras, lenses, tripods, stabilizers, microphones, lighting equipment, and any other specialized tools. Ensure that everything is in good working condition and have backup equipment on hand.
6. Plan for Contingencies
Location shoots can be unpredictable. Prepare for unexpected challenges like bad weather or technical issues by having backup plans in place. Consider renting weather-resistant equipment if needed.
7. Schedule and Permits
Create a detailed shooting schedule that takes into account the location’s availability and any time constraints. Secure any necessary permits and permissions well in advance to avoid last-minute complications.
On-Location Tips
When you’re on location, it’s essential to stay organized and adaptable. Here are some tips for a successful shoot:
1. Conduct a Rehearsal
Before you start shooting, conduct a rehearsal with your talent and crew. This will help everyone understand their roles and ensure a smoother shoot.
2. Communicate Effectively
Clear and open communication is crucial on set. Establish a system for communicating with your team, including hand signals or walkie-talkies if necessary. Everyone should be on the same page regarding shot setups and timing.
3. Monitor Audio
Pay close attention to audio quality. Use headphones to monitor sound during the shoot and address any issues immediately. Ambient noise and wind can be significant challenges in outdoor locations, so be prepared with the right equipment and techniques.
4. Lighting Considerations
Utilize natural light whenever possible, but also have artificial lighting options on hand to control the scene’s lighting conditions. Diffusers, reflectors, and flags can help you achieve the desired look.
5. Capture B-Roll
In addition to your planned shots, capture plenty of B-roll footage. B-roll can be invaluable during the editing process, providing visual variety and context for your video.
Post-Production Excellence
Once you’ve wrapped up your location shoot, it’s time to bring all the pieces together in post-production. This is where the magic happens, turning raw footage into a polished video.
1. Ingest and Organize Footage
Transfer all your footage to your editing system and organize it systematically. Use clear naming conventions and folders to keep everything tidy and easy to locate.
2. Edit with Precision
Editing is where you craft the narrative of your video. Make sure your cuts are smooth, transitions are seamless, and the pacing is just right. Pay attention to audio levels and color correction to enhance the overall quality.
3. Add Graphics and Effects
Enhance your video with graphics, text overlays, and visual effects as needed. These elements can help clarify information, reinforce branding, and create a polished look.
4. Sound Design
Sound design is a critical aspect of video production. Use background music, sound effects, and voiceovers to enhance the viewer’s experience. Ensure that audio is balanced and free from distractions.
5. Quality Assurance
Review your video multiple times to catch any errors or inconsistencies. Check for visual and audio glitches, ensure that the narrative flows smoothly, and verify that all necessary information is included.
6. Export and Delivery
Once you’re satisfied with the final edit, export your video in the appropriate format and resolution for its intended use. Consider creating different versions for various platforms, such as social media or web streaming.
Conclusion
Planning and executing location video shoots require careful preparation and attention to detail. By following the steps outlined in this guide, you can increase the likelihood of a successful shoot and create compelling videos that captivate your audience.
As a full-service video company, St. Louis Video Editing has worked with many businesses in the St. Louis area to create video productions. With our extensive production equipment and experience in location video production, we can help you achieve your vision for your next project. Whether you need assistance with streaming video recordings, editing, or customized branding, our team is well-versed in all aspects of location and studio production. Contact us today to discuss your video production needs and let us bring your ideas to life.
Make your next location video shoot a success with the expertise and support of St. Louis Video Editing!
Understanding the Power of Video Editing in Testimonial Videos
The editing process plays a crucial role in shaping viewer perception and maximizing the testimonial video’s effectiveness.
Introduction
One powerful tool that has gained immense popularity in recent years is video testimonials. Testimonial videos offer a unique opportunity to showcase satisfied customers, share their experiences, and build trust with potential clients.
However, creating an impactful testimonial video goes beyond capturing a satisfied customer’s thoughts on camera. The editing process plays a crucial role in shaping viewer perception and maximizing the video’s effectiveness. In this article, we will delve into the science behind testimonial video editing and explore how it influences viewer perception.
The Power of Testimonial Videos
Before we dive into the editing techniques, let’s first understand why testimonial videos are so powerful in the realm of marketing and branding. Testimonial videos provide social proof, offering genuine feedback from real customers. When potential customers see others expressing satisfaction with a product or service, it helps build credibility and trust.
Video testimonials also create an emotional connection. By showcasing the emotions, body language, and facial expressions of satisfied customers, businesses can tap into the power of storytelling, making their message more relatable and memorable. This emotional resonance can significantly impact viewers’ decision-making process and drive them towards making a purchase or taking a desired action.
The Art of Testimonial Video Editing
Now that we understand the importance of testimonial videos, let’s explore how the editing process influences viewer perception. Skilled video editors have the ability to craft compelling narratives, control pacing, highlight key messages, and evoke desired emotions. Here are some essential editing techniques used to enhance the impact of testimonial videos:
1. Crafting a Captivating Storyline
A well-edited testimonial video should tell a story that captivates the viewers from beginning to end. The editor carefully selects and arranges the footage to create a narrative arc that engages the audience. The story should flow seamlessly, with a clear beginning, middle, and end, capturing the viewer’s attention and keeping them invested in the testimonial.
2. Selective Editing and Montages
Editors often have hours of footage to work with, but a testimonial video should be concise and focused. Through selective editing, irrelevant or repetitive content is removed, leaving only the most impactful moments. Montages can be used to condense multiple customer experiences into a concise and visually stimulating sequence, reinforcing the main message.
3. Enhancing Emotional Impact
Emotions are a powerful driver of human behavior. Skilled editors understand how to amplify the emotional impact of a testimonial video by utilizing techniques such as music, color grading, and pacing. Well-chosen background music can evoke specific emotions and set the tone for the video. Color grading can enhance the mood, making the video more visually appealing and emotionally resonant.
4. Adding Visual Enhancements
Visual enhancements, such as text overlays, graphics, and animations, can be strategically incorporated to reinforce key points and highlight important information. Text overlays can emphasize key quotes or statistics, making them more memorable. Graphics and animations can add a professional touch and create visual interest, enhancing the overall viewing experience.
5. Seamless Transitions
Smooth transitions between shots help maintain a cohesive flow and prevent distractions. By using techniques like crossfades, dissolves, or match cuts, editors can seamlessly blend different segments of the testimonial video together, creating a polished and professional look.
6. Call-to-Action Integration
The ultimate goal of a testimonial video is to encourage viewers to take action. Editors can strategically integrate a strong call-to-action at the end of the video, guiding viewers towards the desired next steps. Whether it’s visiting a website, making a purchase, or contacting the business, a well-crafted call-to-action can significantly impact conversion rates.
St Louis Video Editing: Your Full-Service Video Production Partner
At St Louis Video Editing, we understand the science behind testimonial video editing and its impact on viewer perception. As a full-service commercial photography and video production company based in St. Louis, we are dedicated to helping businesses enhance their branding and marketing communication needs.
With years of experience and a team of skilled video editors and producers, St Louis Video Editing has created hundreds of video productions all over the St. Louis region. We are well-versed in all aspects of video production, including testimonial videos. Our expertise in editing techniques and storytelling enables us to create testimonial videos that captivate, engage, and inspire action.
Whether you need assistance in crafting a compelling storyline, selecting the most impactful footage, or adding visual enhancements, we have the expertise to bring your testimonial videos to life. We pride ourselves on delivering high-quality video editing services tailored to our clients’ unique needs and objectives.
If you are ready to harness the power of testimonial videos and elevate your brand’s perception, look no further than St Louis Video Editing. Contact us today to discuss how we can help you achieve your branding and marketing goals through powerful testimonial video editing.
It all begins with pre-production. Steinbeck coined the phrase: ‘begin with the end in mind’. Planning precisely in this stage will provide a strong base. This includes the main aim and theme of the video production, scheduling filming dates, location scouting, and other key elements.
Develop a script
Developing an engaging script is a must for pre-production. Without a well-crafted script, filming and editing can be poor and interviews can become irrelevant.
Writing an effective script starts with making sure all questions are relevant to the project goals. Plus, make sure scripting provides natural conversation instead of sharp transitions.
Source from research or conversations when constructing questions. This ensures the structure of each question is smooth for a better quality video.
Confirm language standards ahead of time. Make sure any organizations or political activists adhere to specific requirements.
Create a storyboard with visuals. This helps viewers identify when the conversation moves between topics. This also guides editors and is helpful during filming as it lays out what shots will be taken.
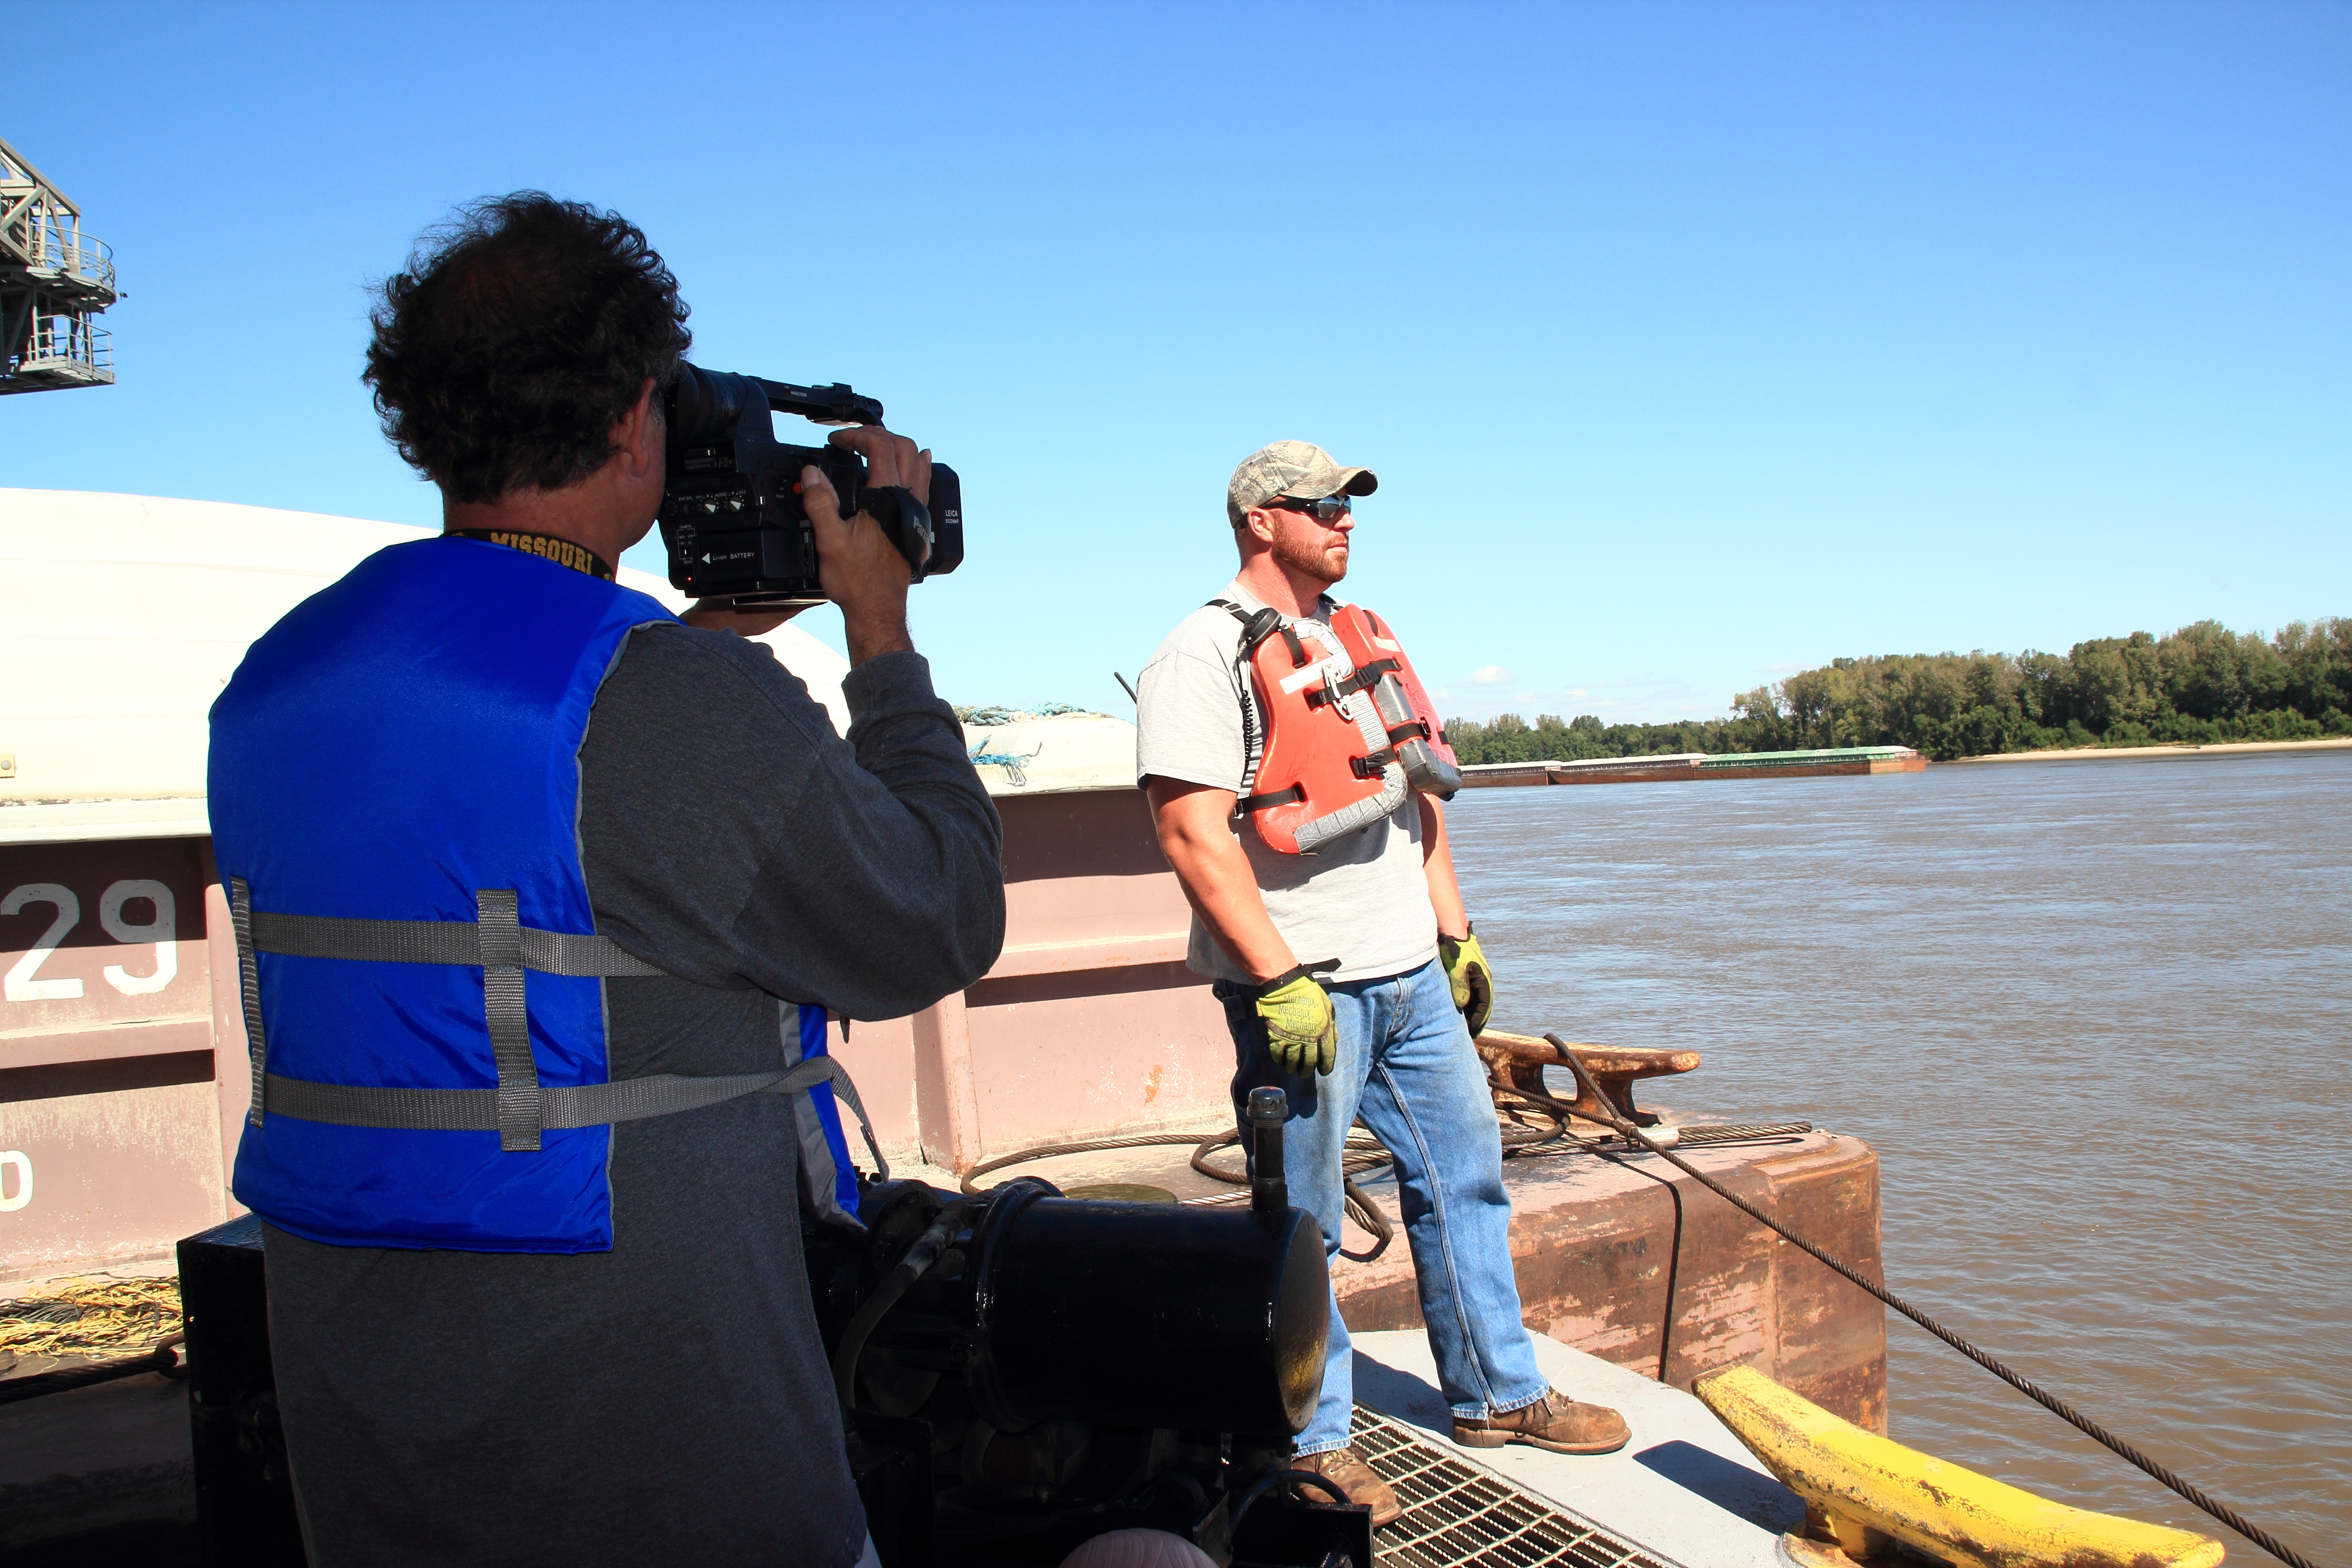
Choose a filming location
When it comes to planning a film production, deciding on the filming location is key. It contributes to the look and feel of the video. But, there are many factors to consider when choosing.
Assess the relevance and suitability of each location. Does it fit with the narrative? Will it remain secure? Is there enough space for equipment? Choose something visually stunning, easy to access and unobtrusive.
Go for locations close in proximity. Have backup options for bad weather. Avoid remaking a location; use real people in context. This will make scenes more believable and stronger connect them with their environment. Finally, bring GPS coordinates!
Select the right equipment
Selecting equipment for interviews is important. You must think about the environment and the subject. Professional interview productions include a camera, tripod, mic(s), audio recorder/mixer (if separate recording) and lighting.
For example, if it’s a well-lit room with no movement, a DSLR with a lavalier microphone will do. But if the subject moves around or is in front of a light source, an ENG camera with XLR inputs and lighting is better.
No matter how basic or complex the video production is, it is important to select gear that allows for great quality capturing.
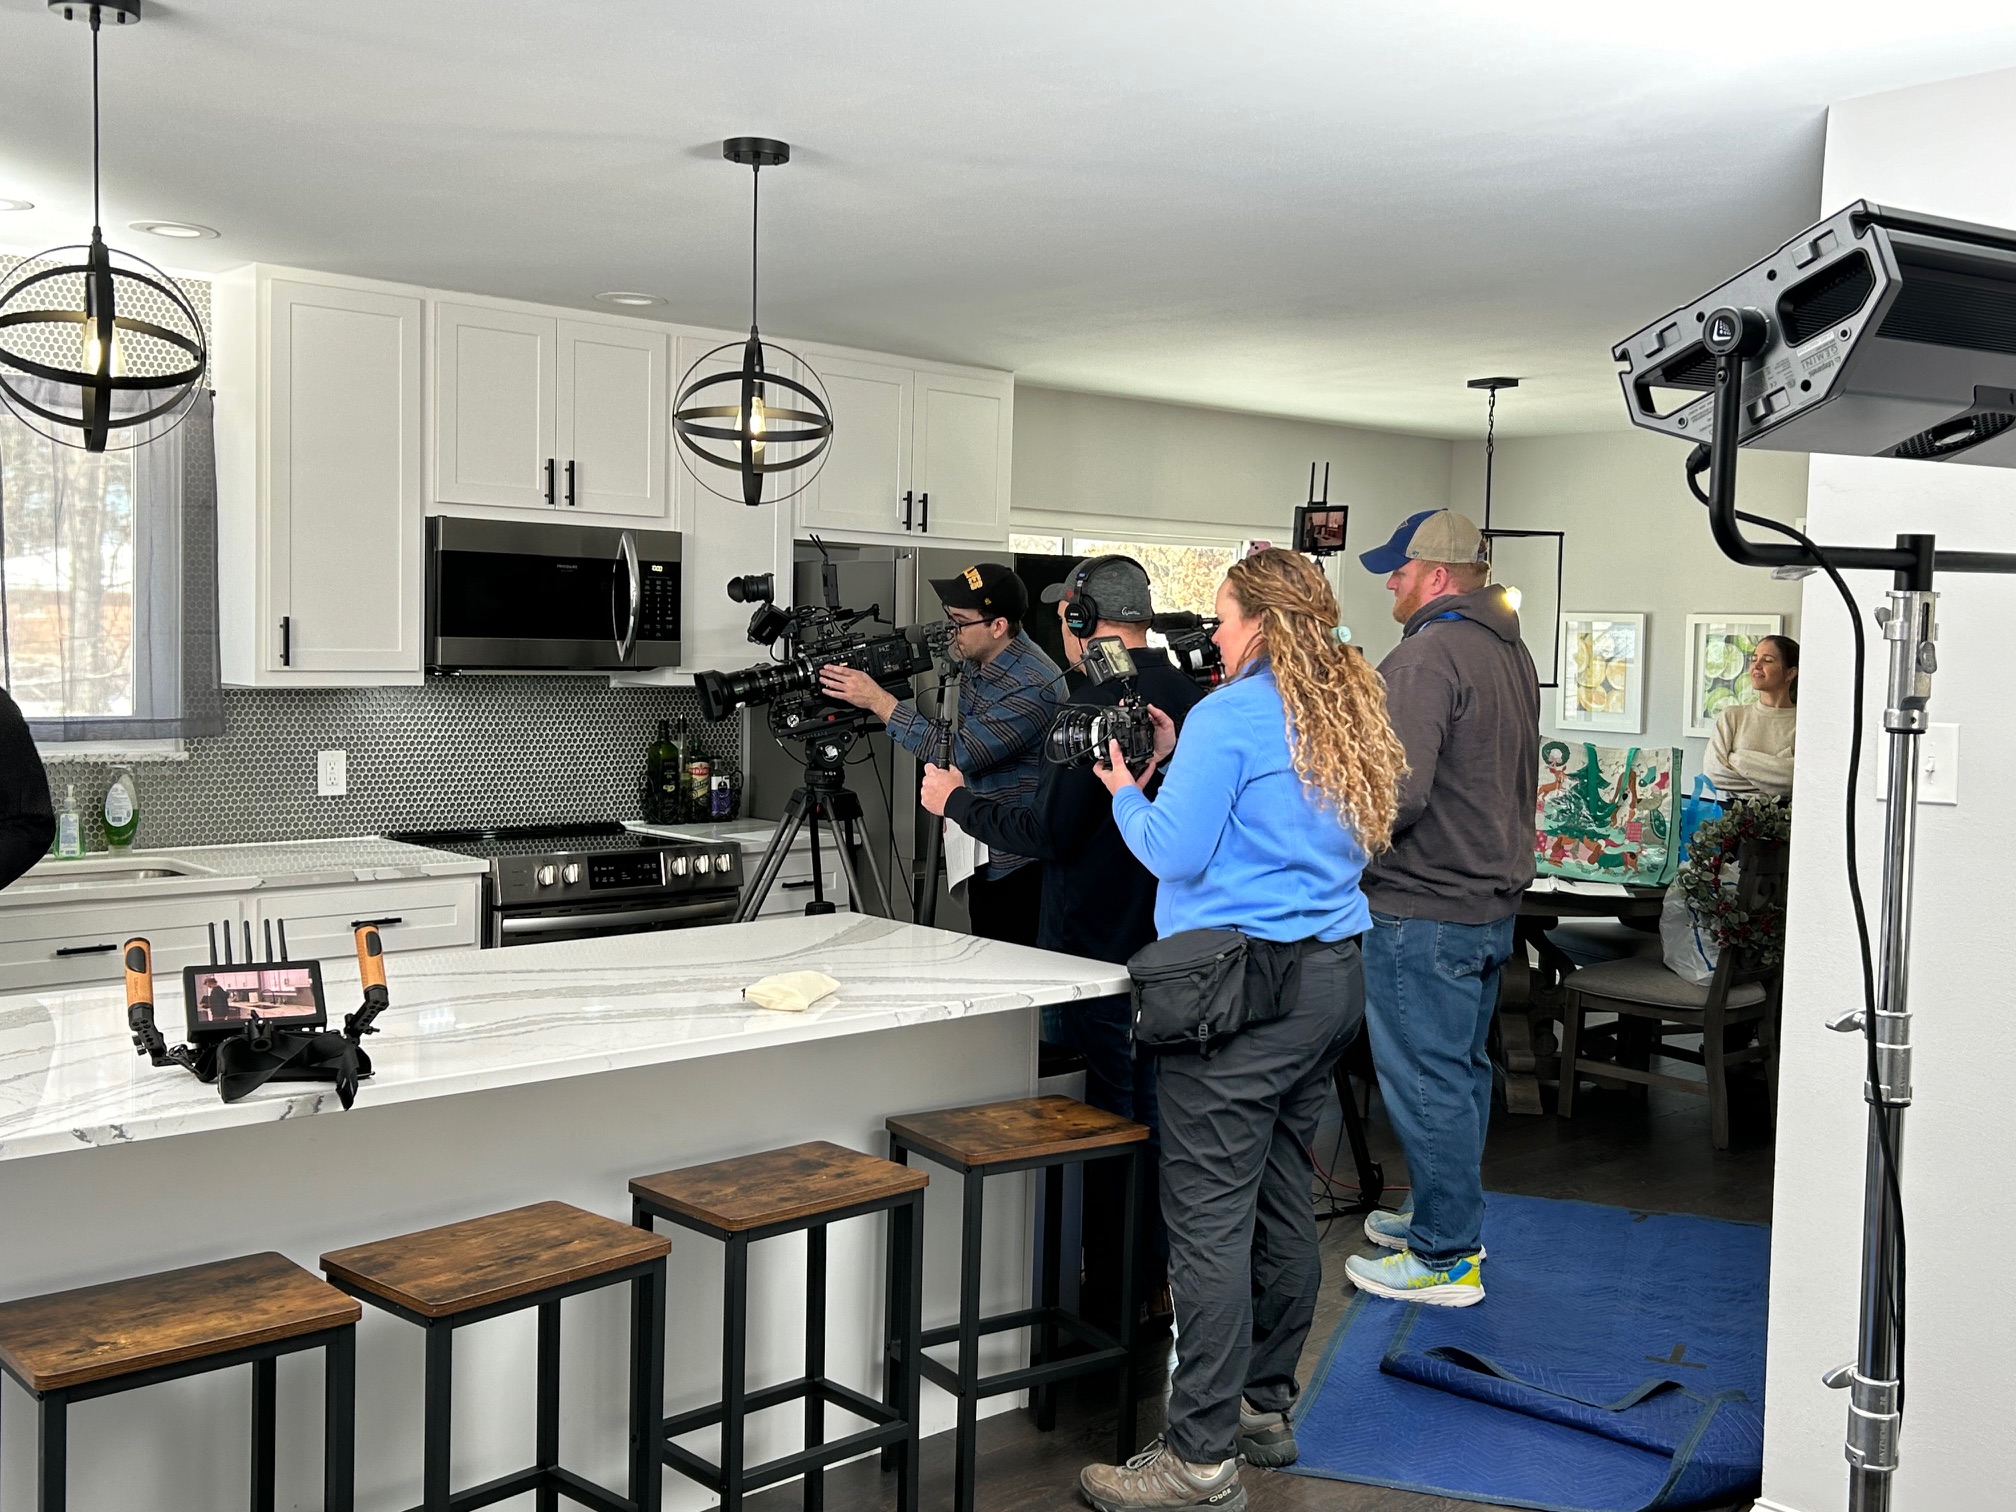
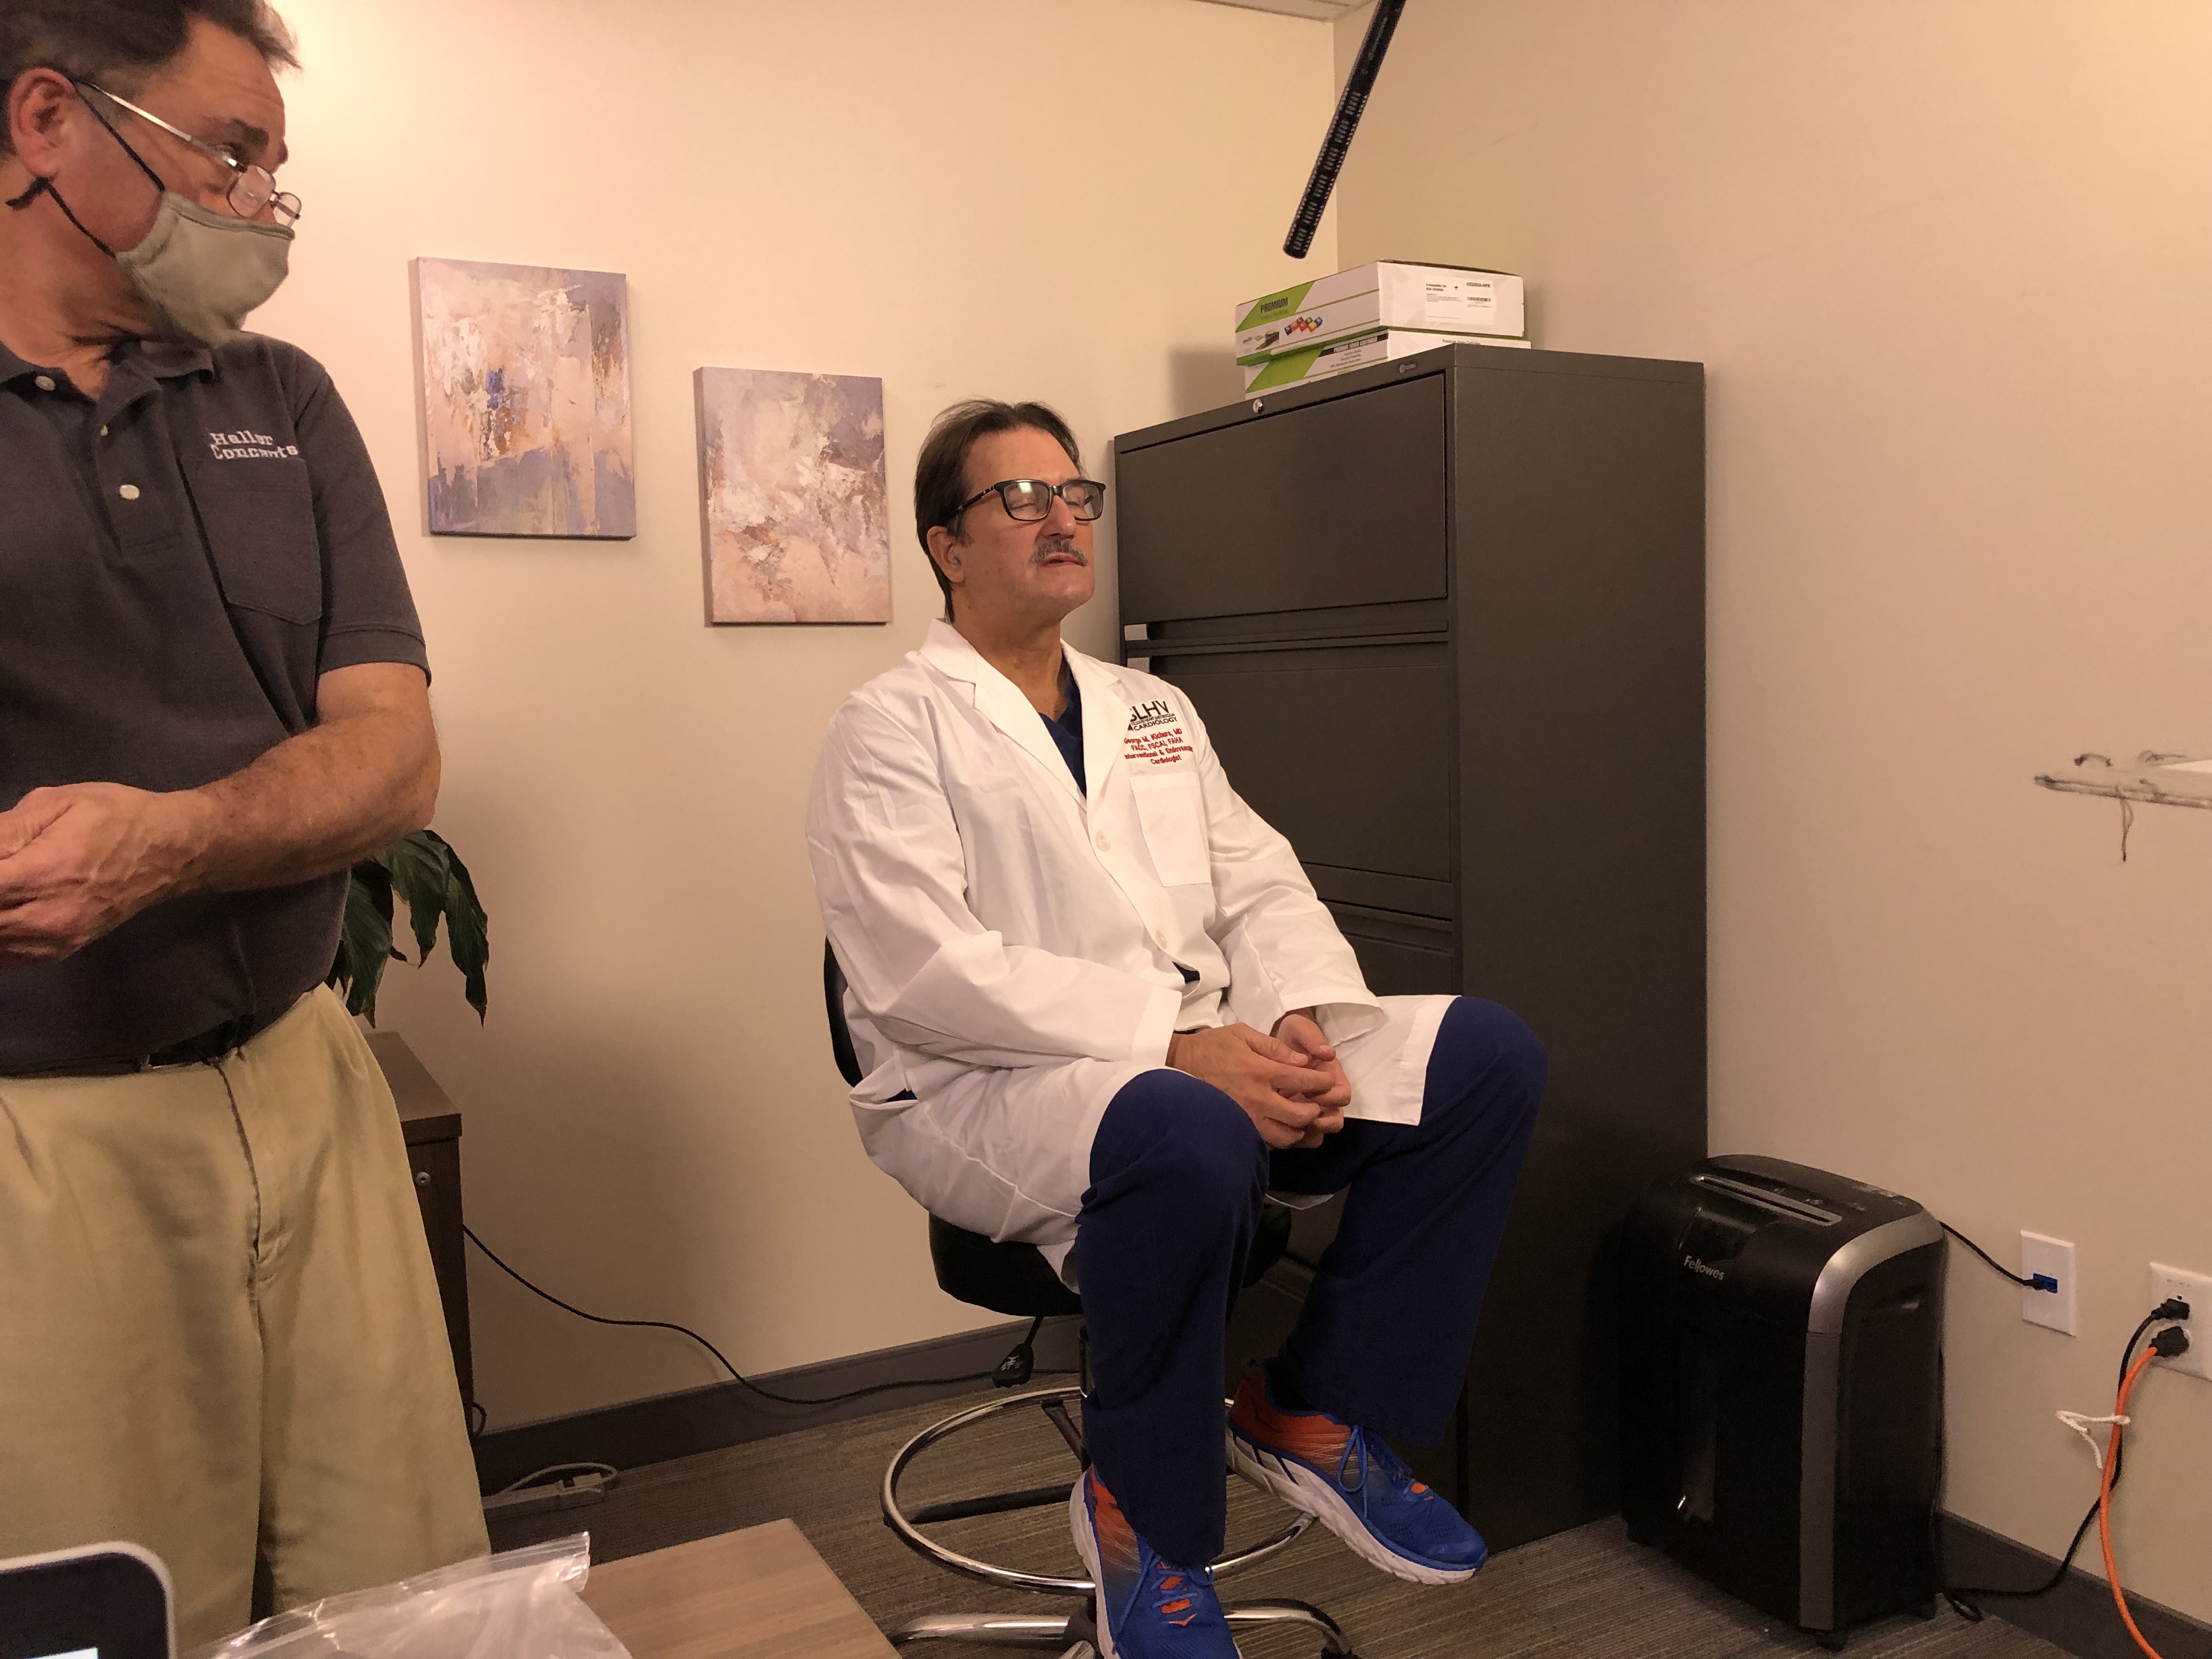
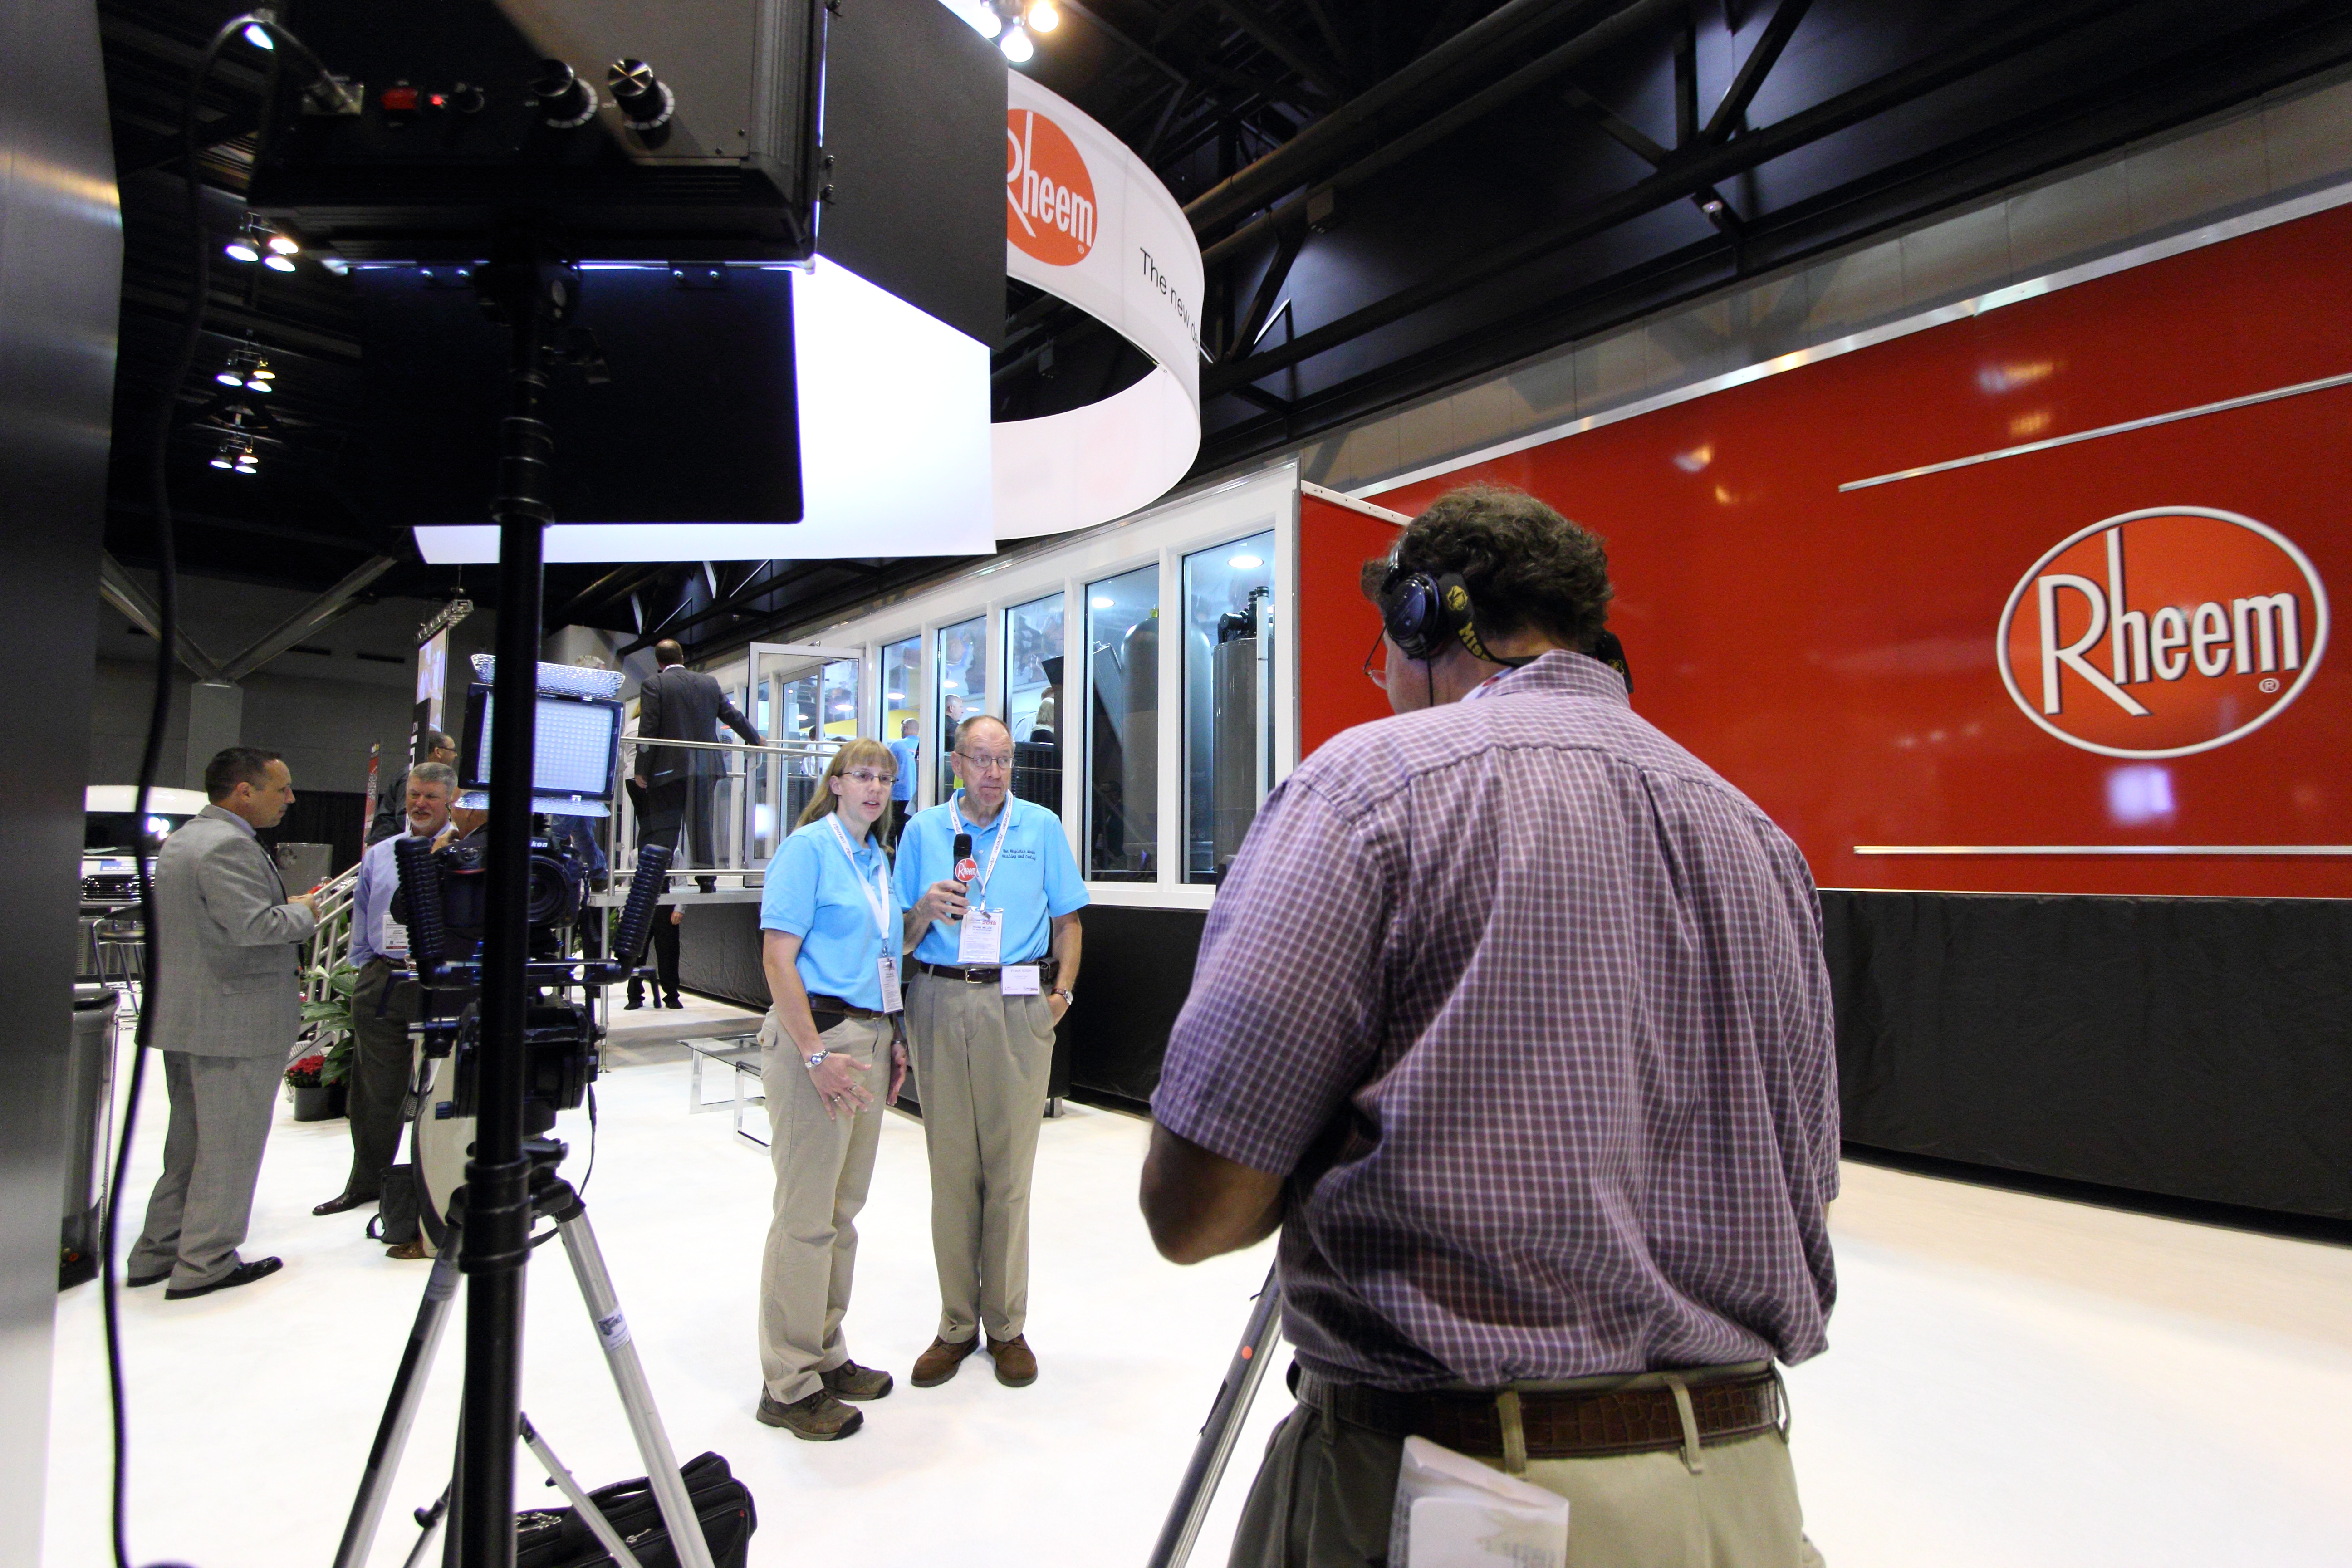
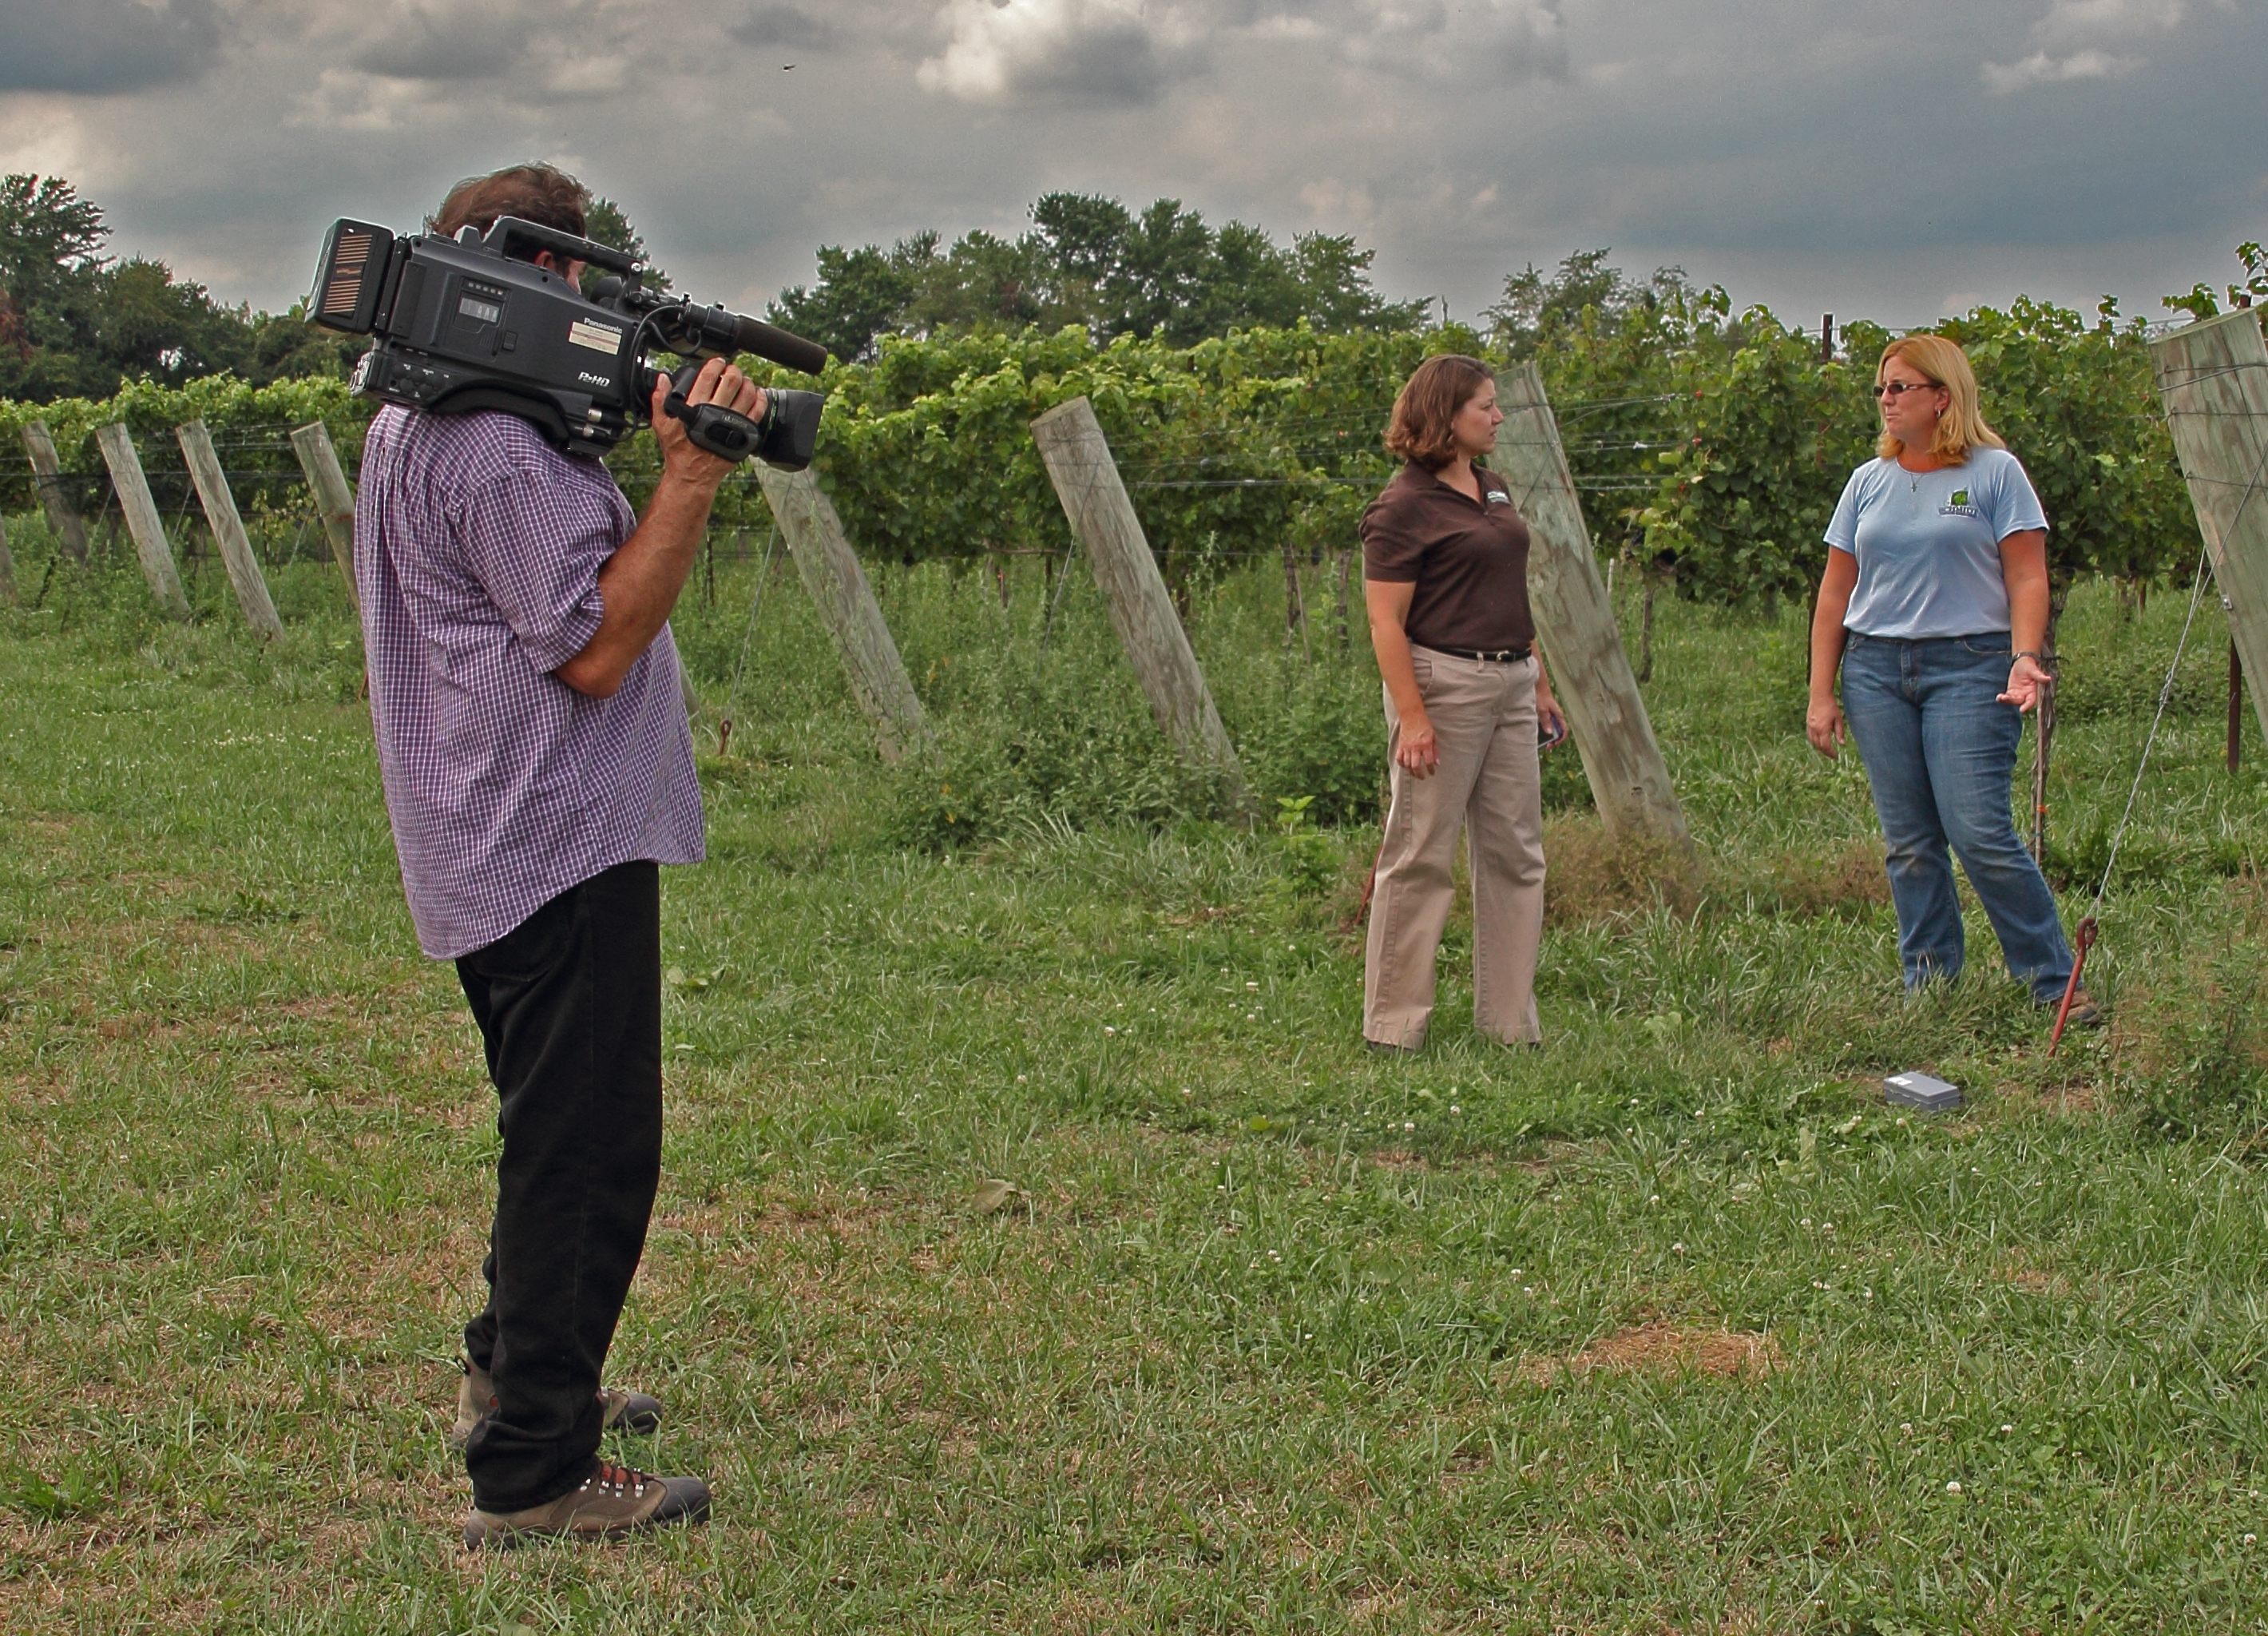
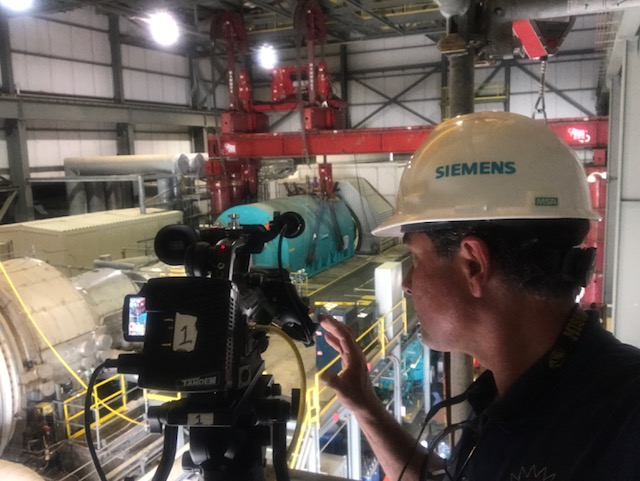
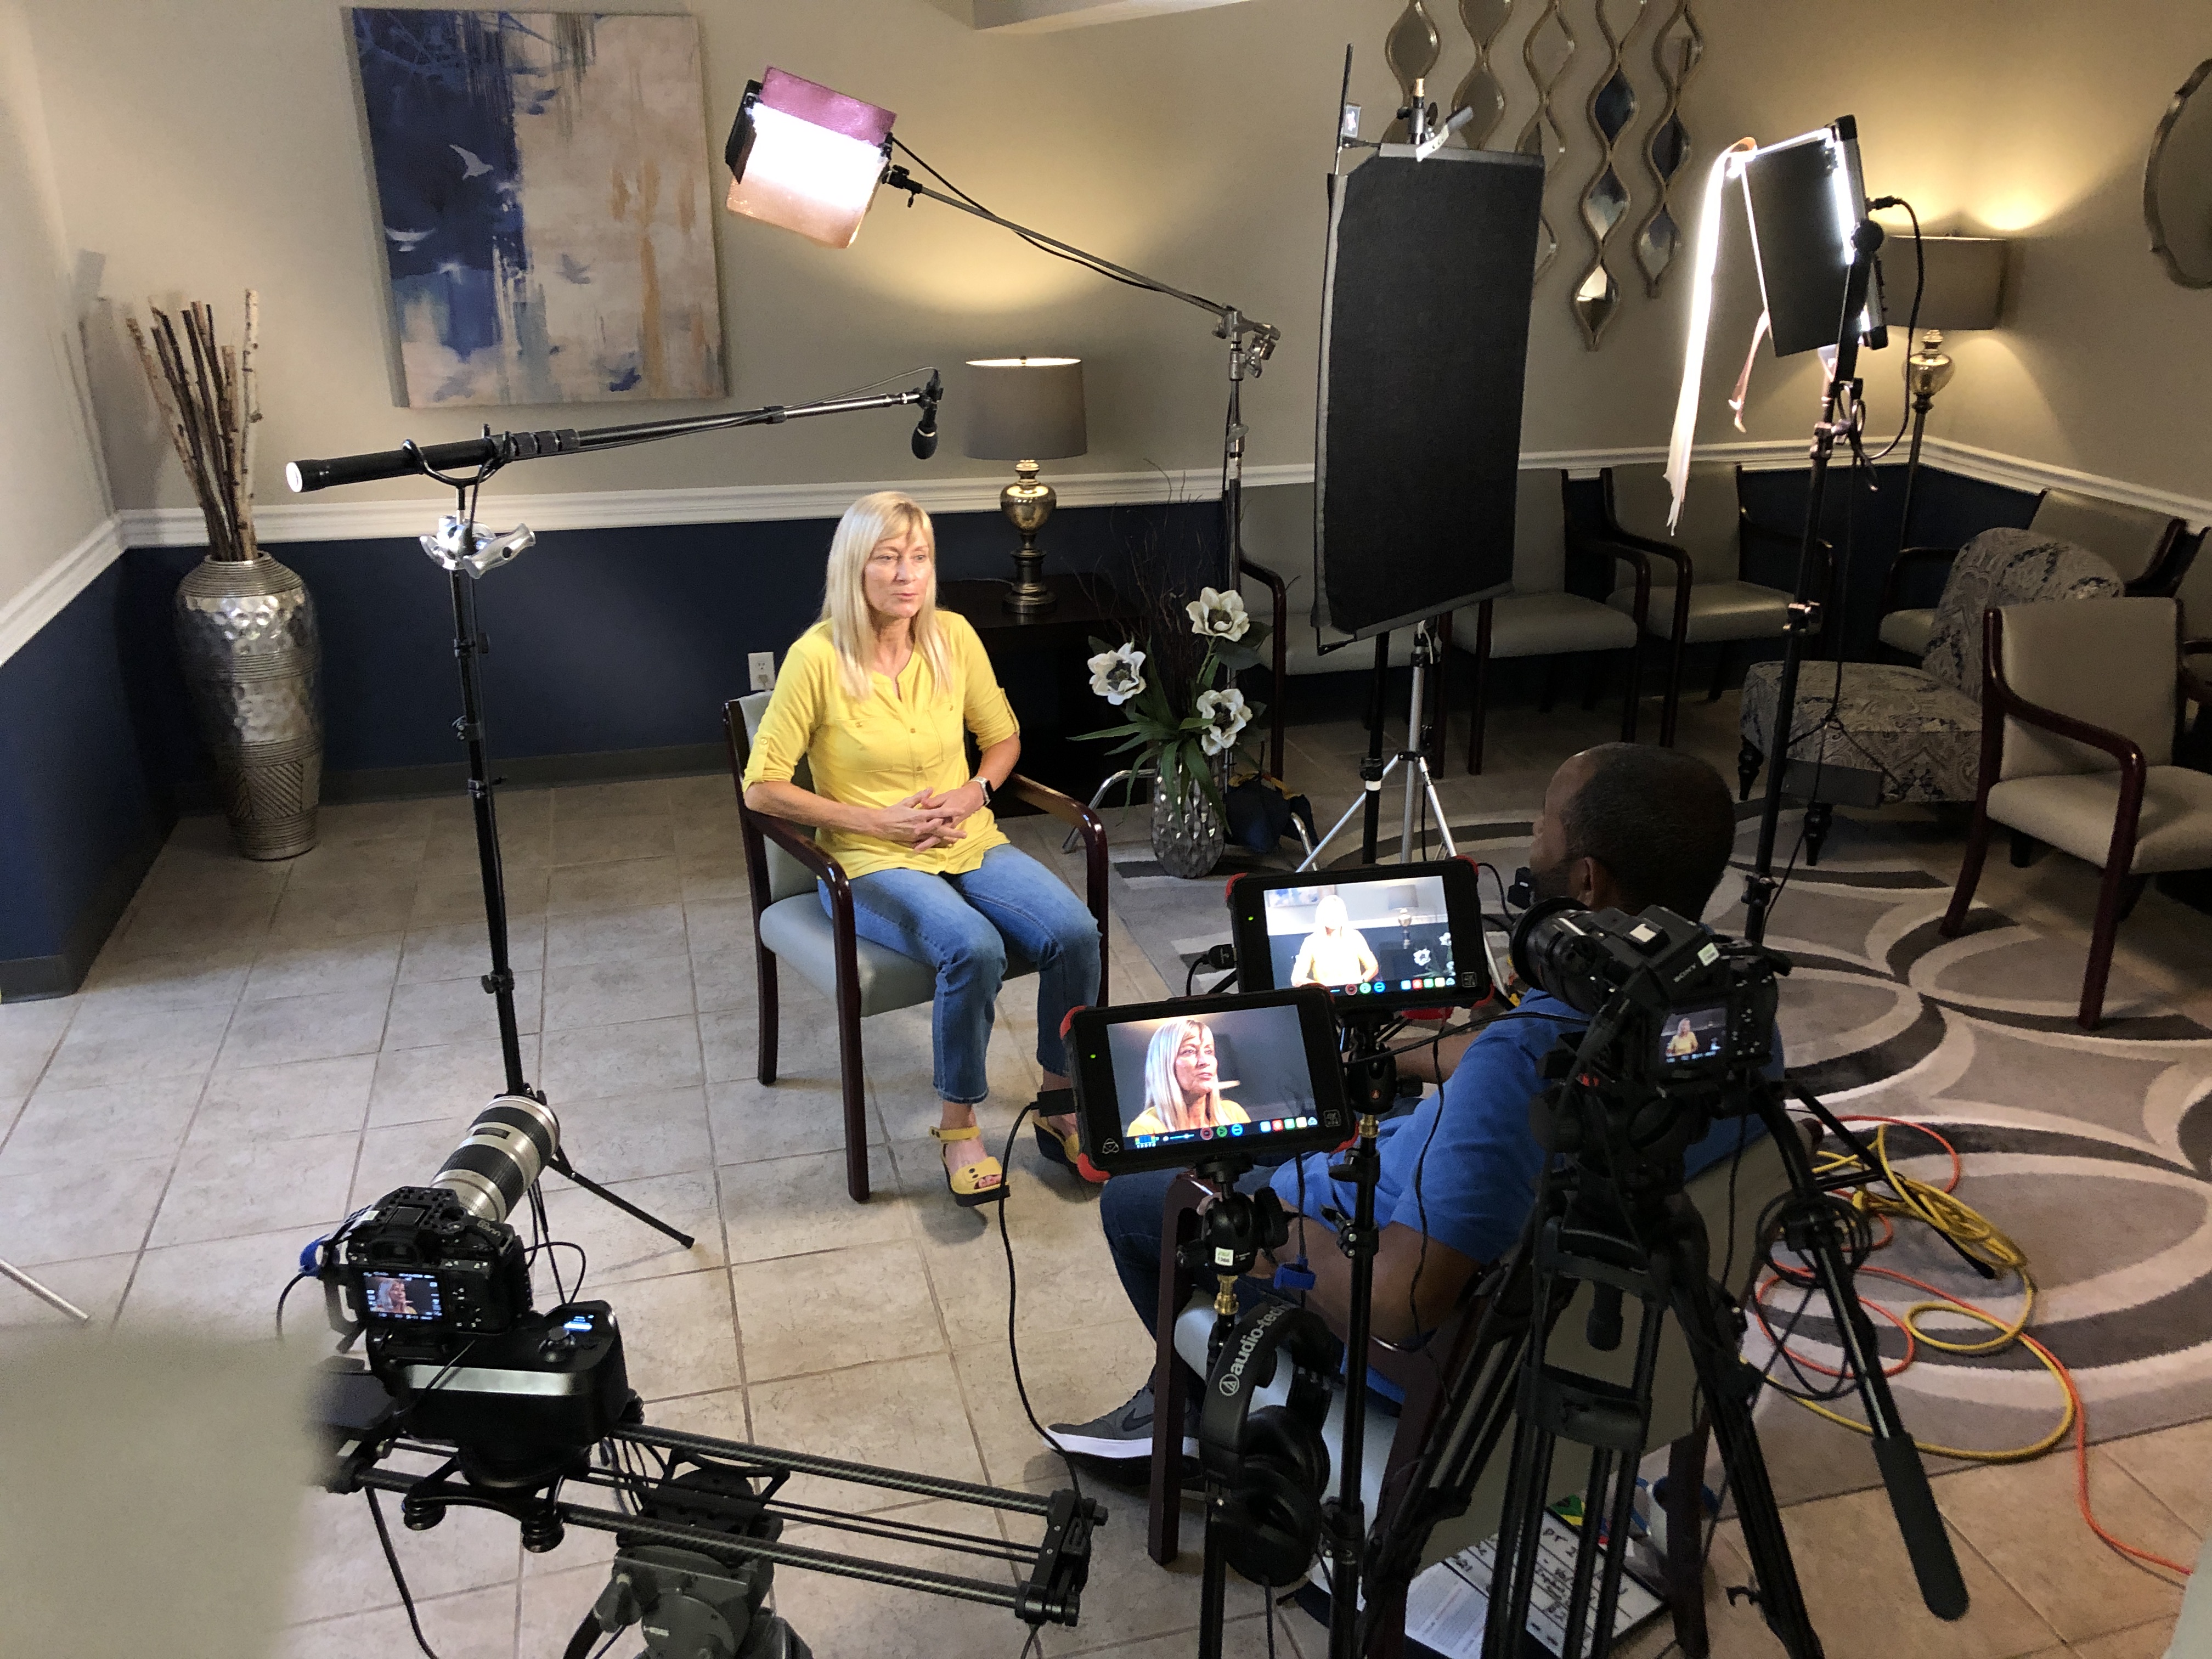
Video crew recording an interview.
Production
Production is crucial for a successful interview video. This involves finding the perfect talent, places and props – plus making the necessary arrangements for the shoot. It also consists of arranging the shots, setting up lights, and audio equipment – with a production team that includes a director and cameramen.
In this section, let’s learn the basics of production for an interview video.
Set up the interview
Producing a successful interview video needs careful focus on the shooting area and framing the subject. Whether it’s for a documentary, commercial, or other video production, three key elements are background, lighting, and camera positioning.
Background: Pick a backdrop that adds context & sets the tone for the interview. Keep away from chaotic scenery that will be distracting or make it hard to concentrate on the subject.
Lighting: Natural light is great in sunny days, but dodge direct sunlight which can make harsh shadows. On cloudy days or indoors, use artificial light that can be put in the right spot so there are no reflections on the subject’s face.
Camera Positioning: Frame the shot to fit the 4×3 standards for television broadcast without sacrificing the background you want in the shot. To make sure facial details stay clear and professional, cut off slightly above the subject’s forehead, unless you’re using a close-up shot (like corporate headshots).
Record the interview
Recording interviews is key to making a great video. Choose a good mic and make sure it’s placed correctly. Before recording, turn off any appliances or other noise sources. When filming outdoors, be aware of environmental sounds like traffic or birds.
Consider the lighting – too much can cause blurring or shadowing on the face. If using multiple cameras, choose a wide angle lens for better depth-of-field. Good recording tech will ensure clear audio quality for your viewers.
Capture b-roll footage
B-roll footage is a major part of interview video production. It adds context, reveals the story, and evokes emotion. It captures natural moments and links ideas in odd and imaginative ways. Getting great b-roll is key for making a captivating narrative.
Be sure to get the right b-roll before you start interviewing. Think about what visuals you need before the shoot and take time on set to grab any extra footage. Try different perspectives to get unique content that adds texture and atmosphere to your video. Lastly, edit it! That’s what takes your production from good to great!
Post-Production
Filmed the interview? Great! Now it’s time for post-production. This is when you take the raw footage and start editing, grading, and adding music and sound effects.
To make a successful video, you’ll need to consider five main elements. Here’s what you need to know.
Edit the footage
Once footage has been captured, the next step is to edit. Edits are special art-forms. Professional editors use tricks to make interviewer’s words visually interesting. So, pick a few highlights and capture enough footage to have the power to shape your story.
Music can influence how viewers respond to video content. Think about what type of score fits the video project. It should fit the theme, emotion, and mood. Then, make transitions between sections smooth. Check for audio anomalies like pops and clicks. Lastly, adjust color grade if needed.
Add music and sound effects
Sound is an essential part of any video. It can make or break the production quality. Music and ambient sounds keep viewers engaged and provide an emotional depth.
For interviews, choose background music with a slower tempo. This allows for natural pauses and sets the tone. Sound effects emphasize points within the interview and add realism.
If you plan to add narration or vocalists, record professional audio in post-production. This will ensure viewers stay connected and engaged until the end!
Add graphics and titles
Once you have your raw footage, the post-production process of a successful interview video can start. This is when you turn all the work and preparation into a visually stunning and engaging piece. Post-production includes graphics and titles, editing, color grading, sound mixing, and exporting your finished product.
Graphics and Titles: Text gives an extra dimension to the video. Showing titles onscreen at certain points gives viewers more info without stopping the action. It’s important to understand how typefaces, shadows, and borders affect the video’s visuals.
Editing: For interview videos, tasks for editing may not be as long. But you still need to pay attention to cuts to make them look natural. It also lets you control pacing and storytelling by emphasizing certain aspects. Remove any unnecessary audio elements or dead air for a smooth flow before adding background music or SFX.
Color Grading: Color grading helps establish moods in pieces. Resetting contrast levels between shots gives more depth to the content. Subtle changes are important, or it can look overproduced. Most nonlinear editing suites come with built-in color grading tools.
Sound Mixing: Audio can make or break a production. Sloppy sound recordings can distract viewers. Hire someone else if you can, or research music libraries if you have no budget. Consider background ambience to promote emotion and heighten audience immersion.
Distribution
Video production is essential, but not the end of the journey. After it’s done, you must decide how to distribute your video. Have a plan in place!
This can help you get your video seen on various platforms, making sure it reaches its full potential. Maximize your reach and visibility!
Select the best platform for distribution
Choosing the correct platform for distributing your interview video is essential for gaining visibility and web traffic. Many companies currently use their website and social media channels for content distribution. When deciding where and how to share your video, consider the following:
-Reach: How far do you wish to reach? Different social media platforms offer different levels of exposure. To get maximum reach, upload your video on sites like YouTube, Vimeo or Dailymotion. However, sharing with a smaller group may be possible on your own website or a private platform (e.g. Wistia).
-Audience: Who are you targeting? Think about which groups may be interested in the content, and the platforms they usually use. For example, if you’re going for the teenage market, Instagram or Snapchat may be better than LinkedIn or Twitter.
-Engagement: What type of interaction do you want? Some platforms are useful for sharing, others for creating conversations (e.g., Twitter vs Facebook). Pick ones that best match your goal for the video – either educational or generating interest/sales.
-Content Format: Does the platform offer various video formats and sizes? Can it embed custom previews and thumbnails? Don’t forget about audio support! Vimeo Pro, for example, allows videos to be embedded for web use, mobiles and analog televisions – so everyone can watch it.
-Analytics: What reporting options does the platform have? Easy reportable platforms help track user engagement and time spent watching – so marketers can make wiser decisions based on real data instead of guesswork.
Optimize the video for SEO
Distribution needs optimization for search engine success. Before posting a video interview, research keywords to boost it’s ranking. Embed the keywords into the title, description and tags. This makes it easier to find when searching for topics.
Use the right tools when publishing on the web. Upload videos directly onto web pages. Don’t link to YouTube or other external platforms. Host the video on your own website for easy access and sharing.
Promote the video on social media
To maximize reach and impact, promote your interview video on social media. Ask everyone to share the video with their networks. Create event hashtags for viewers to interact and join conversations.
Once released, use influencers and micro-influencers who have a large presence in your target audience. Make sure their audience relates to your target market. Avoid collaborating with celebrities just for fame – the return might not be worth it.
Creating eye-catching content online is key. Use special techniques like sponsored ads, boosted posts or hashtag usage to attract leads. This allows you to humanize your brand and connect with people on a genuine level.
Measurement
Measuring video success is vital. It ensures your video reaches its target audience and delivers the right message.
There are numerous key elements to consider when measuring success. These include audience engagement, viewership, social media reach and lead generation.
This section focuses on why measurement is important and the key elements to take into account.
Track the video’s performance
Tracking the video’s performance is a must. Keep tabs on views, shares, clicks, and comments. It gives you an understanding of how well the message reached your audience.
Use A/B testing and heat mapping to get more info on viewer engagement. That helps you refine the message, and make sure it resonates.
Monitor the video’s impact before and after launch. On social media, and long-term. This way, you get maximum engagement and long-term success.
Monitor engagement metrics
Measure engagement metrics to understand how your video is resonating with viewers. Analyzing an interview video takes more than just the number of views. Monitor drop off points and re-watch rate. Drop off points show where viewers are paying attention or skipping. Re-watch rate is an indicator of content quality and enjoyment.
Are people responding to questions in the comments? This is great for sparking conversations around topics addressed in the interviews. Monitor interviews across social networks!
Analyze the results and adjust
Once you’re done with a successful video interview, the work isn’t over. To get the best return of investment, you need a data-driven assessment plan. Analyzing metrics like viewer retention rates, total watch time, bounce rates and percentage of completion will help you understand what worked.
Also, don’t forget to check out metrics from other sources, like social media engagement or website visits. Comparing these across all channels will help you see how each part of your promotion affected viewership.
Particularly, analyzing which segments did best can be useful when deciding which topics to fill future interviews with. If one 5 minute segment got more views, but then dropped off harshly at the 8-minute mark, then consider stopping further additions at that point, optimizing future videos for maximum viewership.
To summarize, tracking results from a video interview project doesn’t have to be daunting. With a tracking plan reviewable in an efficient way, you can tweak certain aspects for more success in future endeavors.
Using professional video editing software and expert scripting services can help to bring your ideas and stories to life in a vivid and compelling way.
Are you looking to produce a professional video on a budget? Look no further! Our video marketing, editing, and scripting services give you the opportunity to create a quality video for any budget. With our experienced team and dedicated customers service, we will help you every step of the way.
Get started today with creating the perfect promotional video!
Introduction to Video Marketing
Video Marketing is an essential component of any successful digital marketing strategy. With the ability to engage audiences, influence buying decisions and increase conversions, it has become an essential tool for businesses in both B2B and B2C markets. Video marketing can be used to highlight products and services, build relationships with customers, create awareness and visibility for brands, increase website visits and improve search engine optimization.
Creating effective video content requires a comprehensive plan for production. At its core is the script that conveys the story you want to tell paired with creative visuals designed to capture viewers’ attention. The process also involves editing videos together from multiple sources – such as external sources or footage captured from different recording devices – developing motion graphics, adding sound effects and more for a complete package that engages viewers from start to finish.
Whether you’re looking for professionally scripted videos with expert editing, or simply a point-of-view style showing off products or scenery without too much dialogue, we offer flexible packages to suit all budgets so you can get your message across in an impactful way.
Benefits of Video Marketing
Video marketing is an excellent way to bring attention to your brand or organization. Video can boost customer engagement and lead to higher levels of click-through, retention, conversion and total sales. Videos have the potential to reach a large audience and can be used as powerful tools to increase brand awareness.
There are many benefits associated with video marketing, such as:
Builds relationships with customers and channels
Increases online visibility
Improves website ranking and SEO performance
Generates quality leads with less effort
Captures attention more effectively than other forms of content
Strengthens current connections
Connects emotionally and promotes loyalty
Educates customers to build credibility
The ideal video should be creative, consistent in message across platforms, interesting enough for people to watch all the way through, and relevant enough that viewers will share it with friends or colleagues. Videos are also great promotional vehicles when it comes to capturing customers’ interest in your product or service.
Types of Video Marketing
Video marketing is an incredibly effective way to showcase your business, reach prospective customers and build relationships with current clients. It gives potential customers a better understanding of who you are, the products and services you offer, and why they should consider your brand. Video has become an essential part of any successful marketing strategy for almost any type of business.
There are many types of video marketing that businesses can use to effectively reach their target audience. Some common types include:
Explainer videos: These explainer videos give viewers a simple explanation about what your product or service does, why it’s beneficial and how to use it.
Interview videos: Interview videos allow prospects to get to know your company on a more personal level and can make your business seem more approachable.
Product demos: Product demos provide viewers with an in-depth look at how your products work or the services you offer.
Tutorials: Tutorials allow viewers to learn more about the features of particular products or services as well as troubleshooting tips or tricks related to them.
Testimonial videos: Testimonial videos give current customers the opportunity to share their positive experiences with others, helping boost consumer confidence in your brand.
Educational content: Educational content provides informative pieces spotlighting topics related to the industry that will be beneficial for viewers who are interested in learning more about the sector you operate within.
Editing and Scripting Services
The importance of editing and scripting in creating effective video marketing cannot be underestimated. To create engaging media that captures attention, captures the desired message, and converts viewers into customers requires a skill set beyond the technical savvy of just pushing record or launching a project.
Our in-house production team has the expertise to make your vision come to life including industry-standard editing programs and custom script writing services.
We provide complete video production packages for any budget from local businesses to industry leaders, including professional editing and scripting services without extensive costs or time commitments. Our experienced editors specialize in transforming raw footage into crisp, eye-catching productions through concise story communication and real-time enhancements that drive viewers’ attention. We also offer a variety of custom script writing services tailored specifically for targeted messaging and vocal delivery that resonates with your target audience.
We don’t just capture footage—we create stories with passion, emotion, style, and energy to move your message beyond surface level engagement with viewers who become loyal customers.
Are you ready to take your video marketing to the next level? Contact us today for professional editing and scripting services!
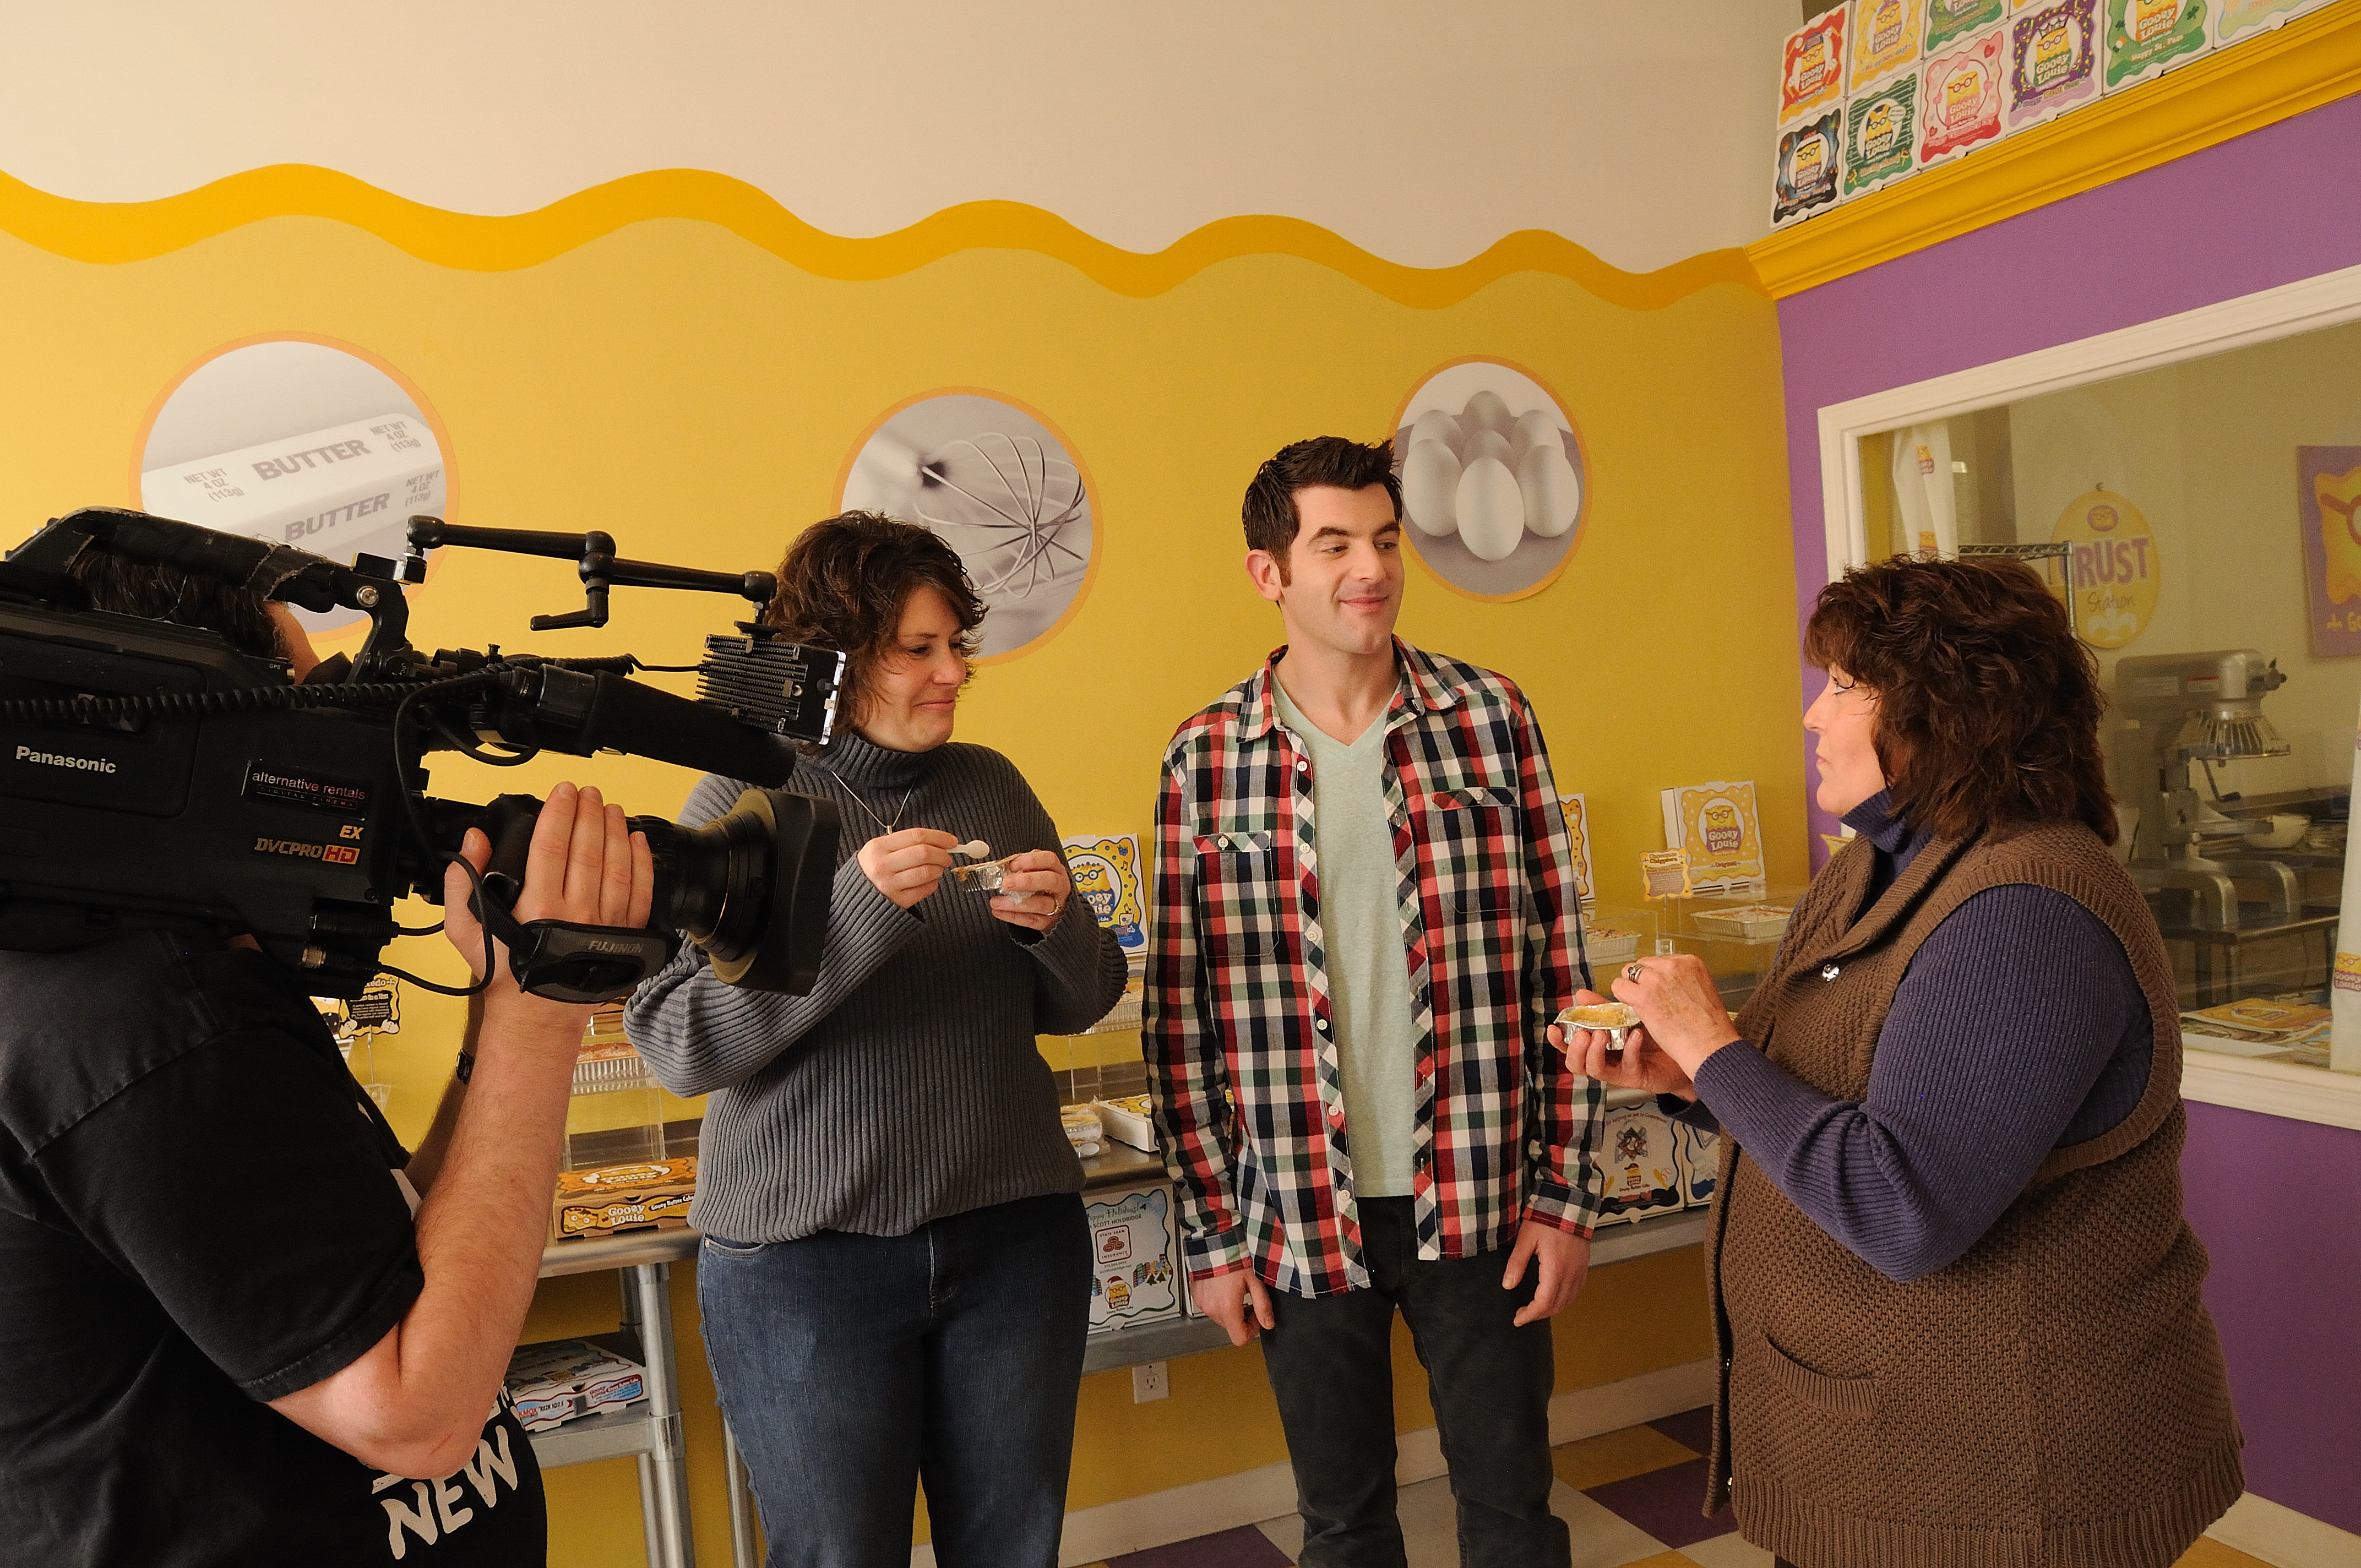
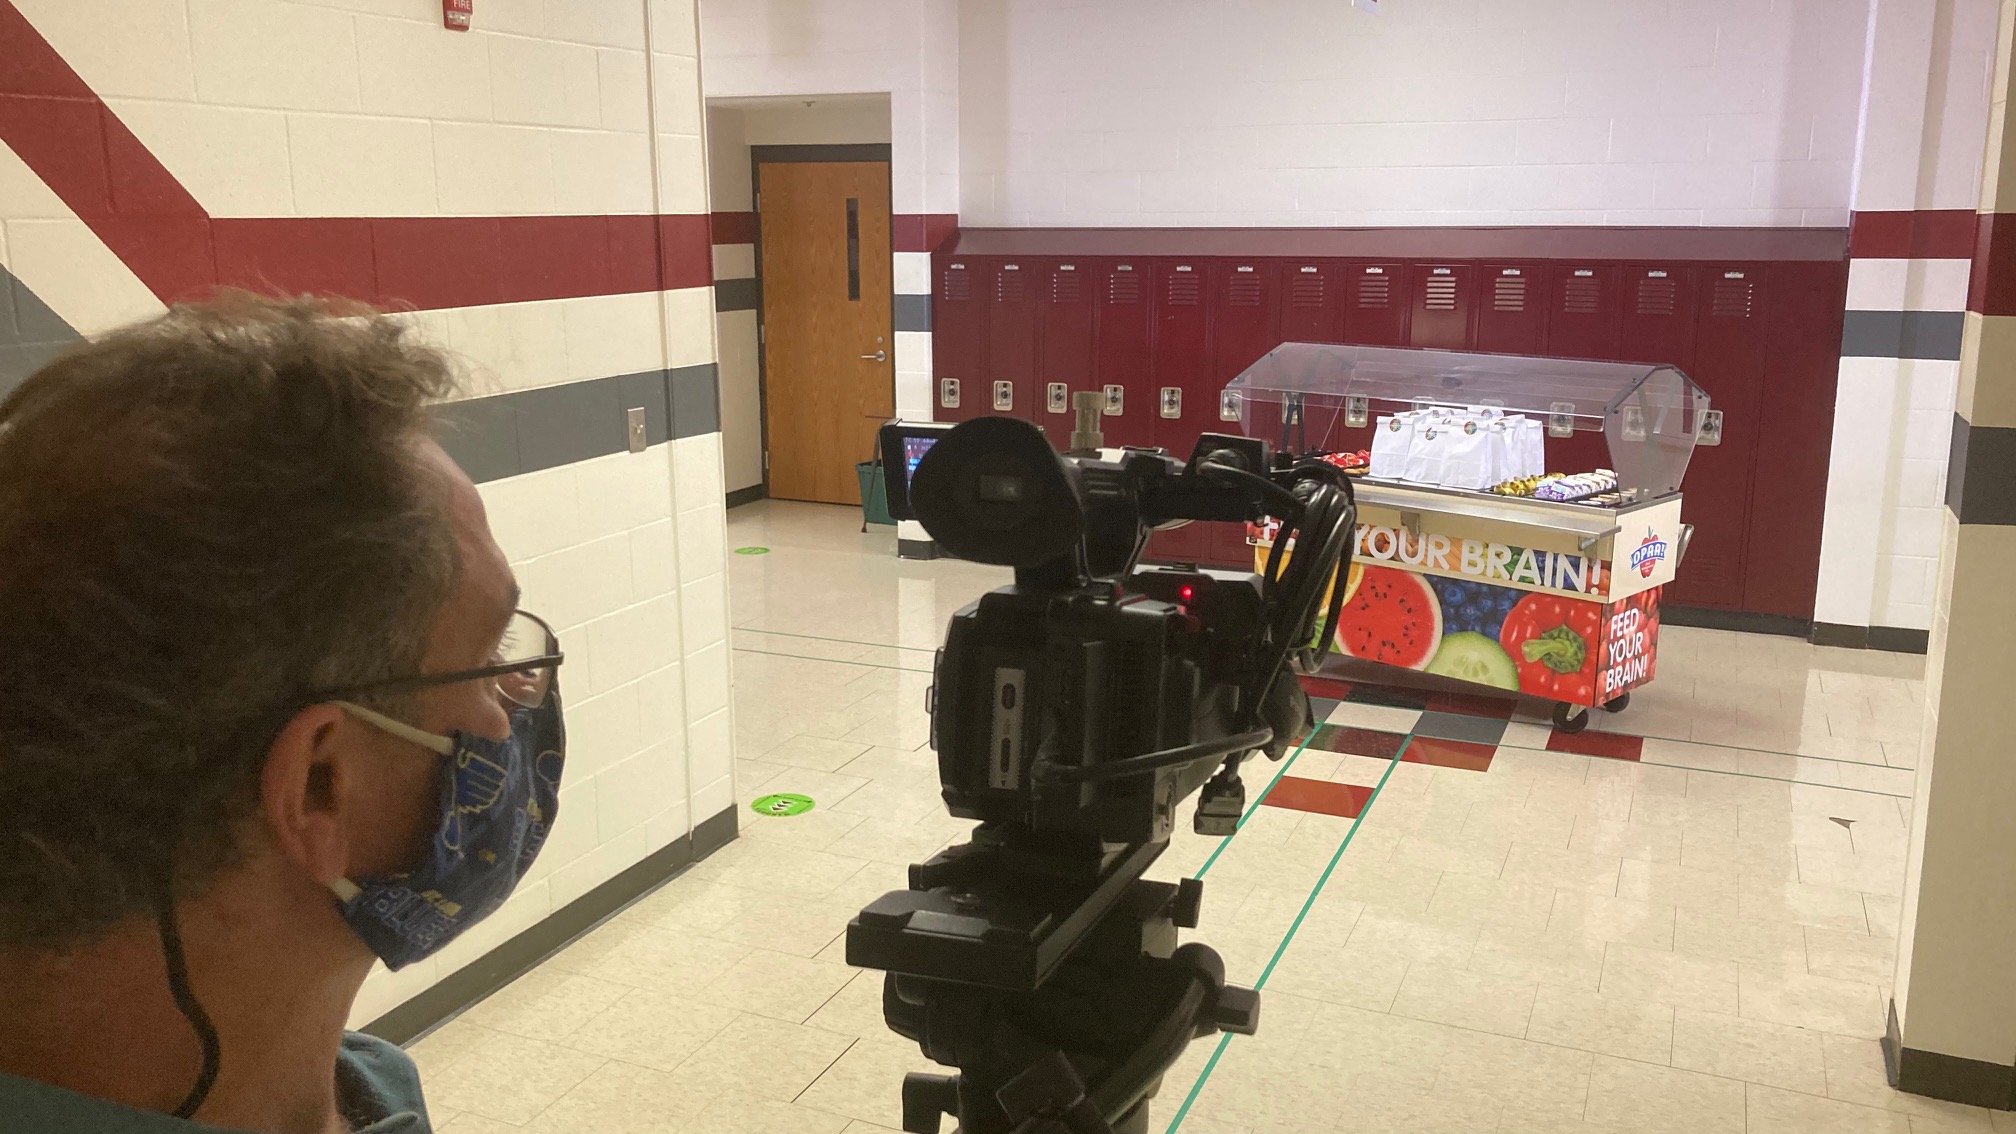
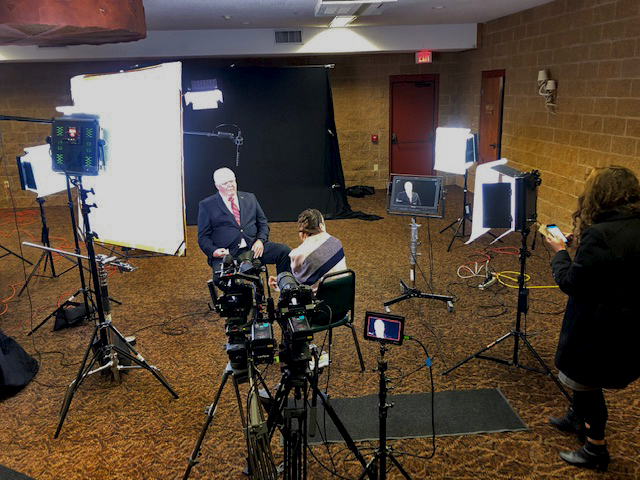
Full service video production on location in St Louis filming a documentary
Benefits of Editing and Scripting Services
Using professional video editing software and expert scripting services can help to bring your ideas and stories to life in a vivid and compelling way. Editing and scripting services provide multiple benefits not only for the creative process but also for post-production workflow, viewership, engagement, and overall quality.
Editing is the process of incorporating clips together to create a cohesive story. An expert editor will use their skills to choreograph visually captivating moments that seamlessly blend together with pacing, timing and framing. These considerations are fundamental when creating a moving story or teaching tutorial video of any kind.
Scripting includes many different aspects such as:
Organizing ideas chronologically
Creating dialogue within a narrative arc
Proofreading grammar and punctuation
Providing clarity between transitions in between scenes or topics
Professional videographers recognize scripting as one of the most critical components when telling a story since it is vital for clear communication with the audience before filming begins. By using these particular production techniques one can ensure an optimized viewing experience with no confusion or miscommunication during playback time.
Overall, crafting strong video content through careful editing and scripting takes an experienced eye that understands what works best for the final unification of all necessary elements within a project’s timeline from start to finish.
Types of Editing and Scripting Services
Editing and scripting services are the most crucial elements of video marketing, as it plays an important role in crafting a compelling story. Whether you’re producing an instructional or promotional video, or simply need to make a few minor tweaks to a corporate presentation, professional editing and scripting services can ensure your message is as engaging and impactful as possible.
Depending on budget, scope and type of project, editing and scripting services can range significantly in scope. Not all projects require detailed script writing – sometimes only basic edits are necessary before you present your material to viewers. In determining which type of service best fits your needs, it’s important to consider what elements would bring your video to life:
Storyboarding/Vizualizing: Storyboarding involves pictorially describing each scene or shot that will be included in the production; developing a “shot list” prior to shooting prevents miscommunication during production by presenting the editor with exact shots desired – saving time and money later on down the line.
Editing: The art of editing involves understanding the pacing, flow and structure of a story – both visually and auditory – in order to repackage old footage into something fresh and engaging for viewers. It includes taking unedited raw footage (or untouched work books) through an assembly process that typically includes tasks like logging shots; organizing them into baskets/sections; editing color timing & creating special effects; adding music & sound effects; integrating graphics & titles; generating lower thirds & final voiceovers; formatting for delivery based on platform/channel goals for output.
Scriptwriting: Scriptwriting requires its own set of skills beyond just editing footage, using scripts written by differing authors during preproduction phase. Scriptwriting explains how every frame will look from beginning to end–including narrative structure (intro/middle/end), characters involved & their actions on screen as well as providing transitions between scenes which makes for better continuity between shots. In addition professional script writing can also add more layers with dialogue interludes strategically placed throughout – opening & closing the story – tying everything together neatly across platforms no matter how long or short each viewing experience may be.
Cost Considerations for Video Marketing
When it comes to creating an effective video for marketing purposes, cost is a factor that must be taken into consideration. Depending on your budget and the scope of the project, there are several factors that will influence the final cost of your video. The quality of the video and type of production services you require, such as scriptwriting, editing and motion graphics will all have an impact on the overall price.
Your budget should also include costs related to filming or acquiring footage such as hiring a director or videographer, equipment rentals and other associated fees. If you plan to produce videos in-house or with freelancers or remote contractors outside your organization’s facilities, there may be additional costs related to travel expenses or renting space for a studio set up.
For anyone looking to create an effective video at a budget-friendly rate, consider working with a video production agency who offers high-quality content at an affordable price. A professional production company can provide you with expertise in scriptwriting, filming services, editing and motion graphics – allowing you to create high-end content without breaking the bank.
Call on our video crews today
In conclusion, video marketing is becoming an increasingly popular tool for businesses to help tell their story and engage with potential customers. St Louis Video Editing provides a range of video marketing, editing and scripting services that are tailored to meet the needs of all budgets. Our team is experienced in working with various types of videos, from short-form social media snippets to longer promotional pieces, presenting your message in the most creative and effective way possible.
If you’re looking for help creating innovative video content that delivers measurable results, contact St Louis Video Editing today to learn more about our tailored services.
314-913-5626 Mike Haller St Louis Video Producer mikeh@hallerconcepts.com Saint Louis, Missouri, USA | St Louis Video Editing